
QUILTING FOR BEGINNERS
Course Information
// COURSE LENGTH //
9 weeks - One 3-hour session per week
// TOPICS COVERED //
Sewing machine basics // Overview of basic sewing supplies // Measuring and cutting using a rotary cutter // Making patchwork blocks // Making colour and pattern choices // Machine assembling the quilt top layer // Quilt wadding and layering-up // Machine quilting // Making and applying a binding (edging) // Hand-finishing techniques
// OUTCOMES //
Students will learn techniques foundational to traditional quilt-making and will complete a generously sized single-bed patchwork quilt.

What Do I Need to Bring?
For the Quilting for Beginners course you will need:
- A basic sewing kit, plus a few additional sizes of pins and needles that are specific to quilting (see below).
- 100% cotton thread
- 1 x 'layer cake' of 10" x 10" fabric squares
- 2m of solid colour quilting cotton
- 2m of extra wide backing fabric
- 2m of 90" quilting wadding
- 1/2m of quilting or craft cotton fabric (binding)
- 1 roll of masking tape
We've given a detailed explanation of these items below. We highly recommend NOT purchasing all of them before the course begins, as some of them may require explanation. And we've given you a weekly breakdown below of when in this course they will be required, so that you can spread the cost a little.
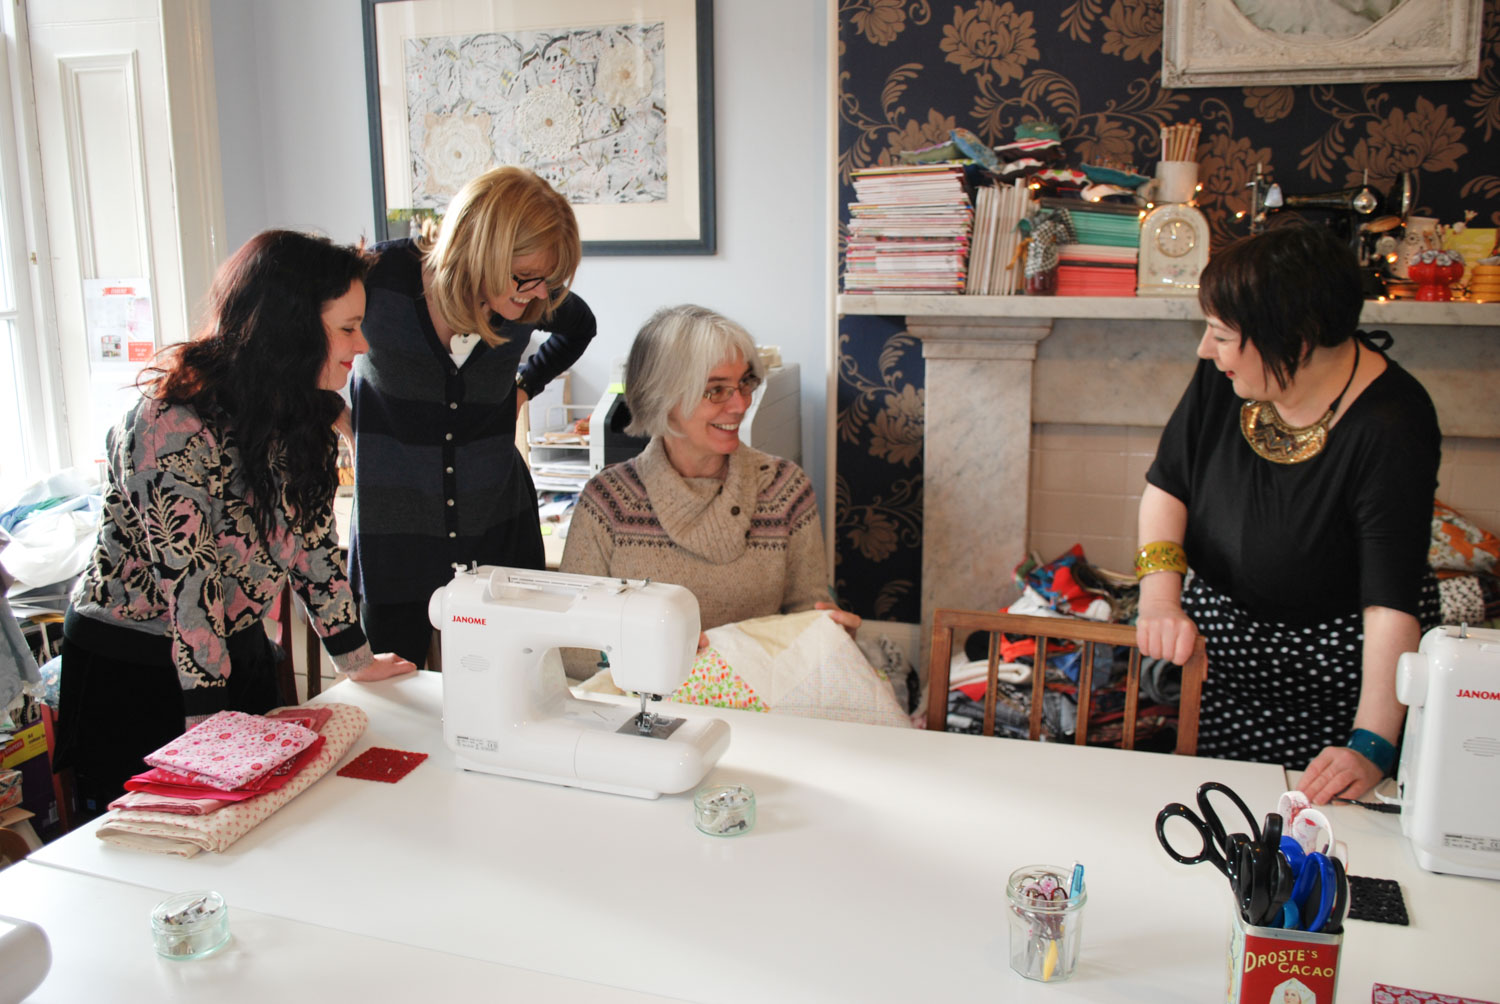
Do I Need To Bring a Sewing Machine?
No, but you are welcome to if you wish. We have a Janome CXL301 sewing machine available for each student to use.
Although not essential, having a sewing machine at home is helpful for this course. If you don't own one already, we sell a range of Janome machines, and offer discounts on these to our students. Contact us for more details.
If you're planning on bringing your own machine, please contact us and let us know the make and model.
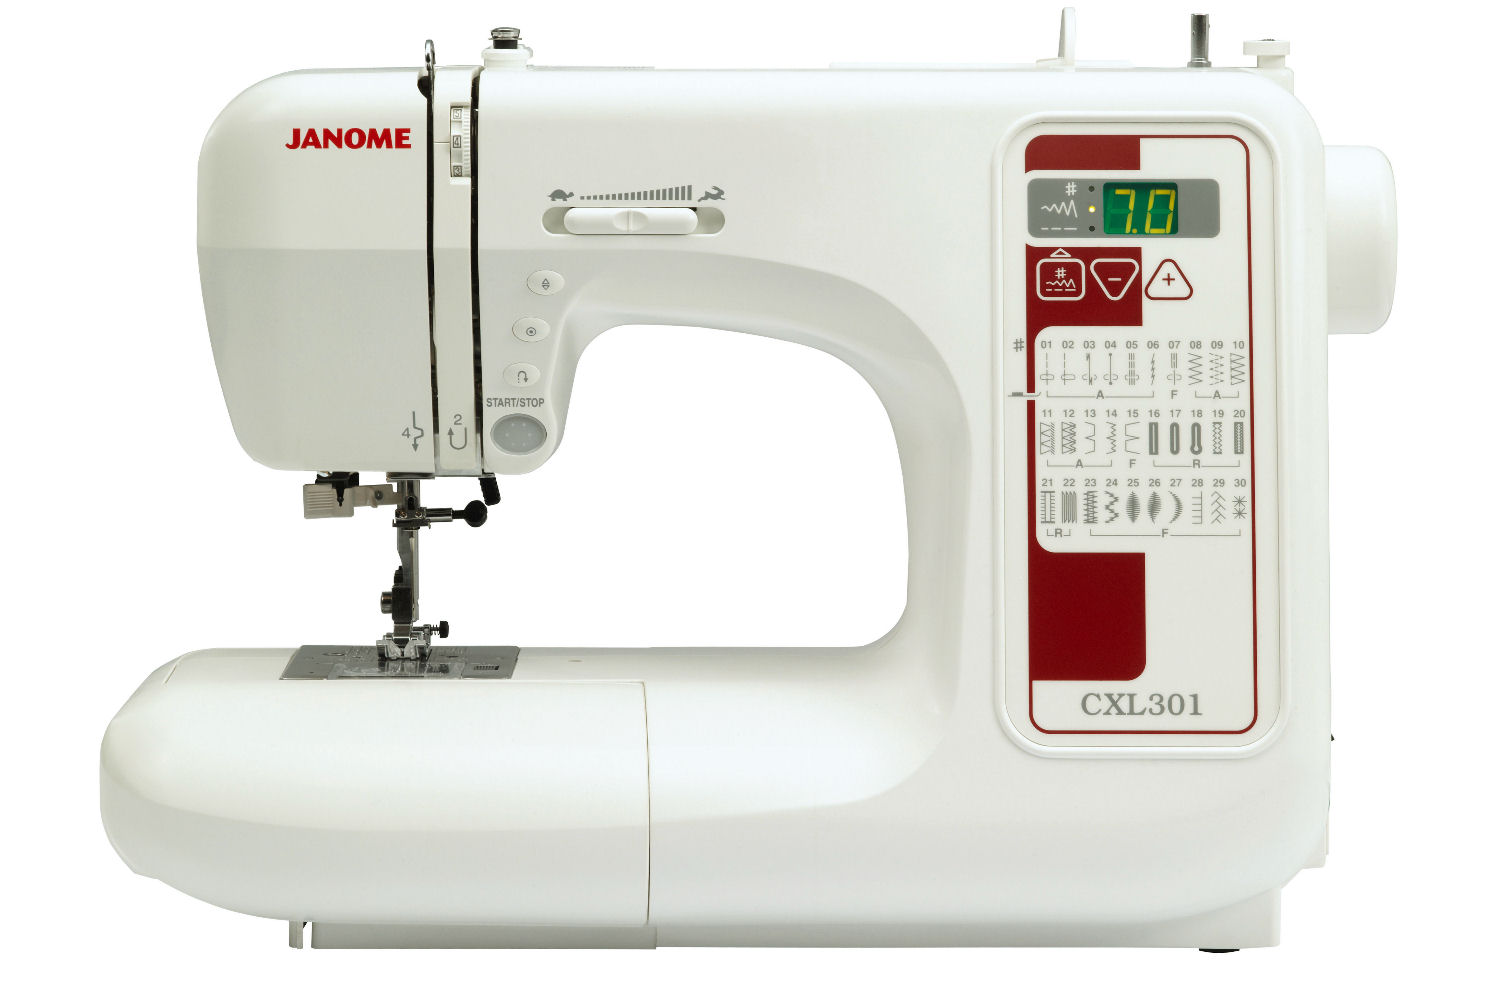
The Janome CXL301 - We have 10 of these in our studio for student use.
How Do I Pay My Balance?
If you booked your place with a deposit, you're balance is due no less than 14 days before your course begins. For instructions on how to pay please visit our balance payments page.
If you're thinking of cancelling your booking, for any reason, please let us know as soon as possible, so that we can offer your place to someone on the waiting list. And also please have a look at our Cancellations & Refunds Policy on the FAQs page before doing this. Thanks.
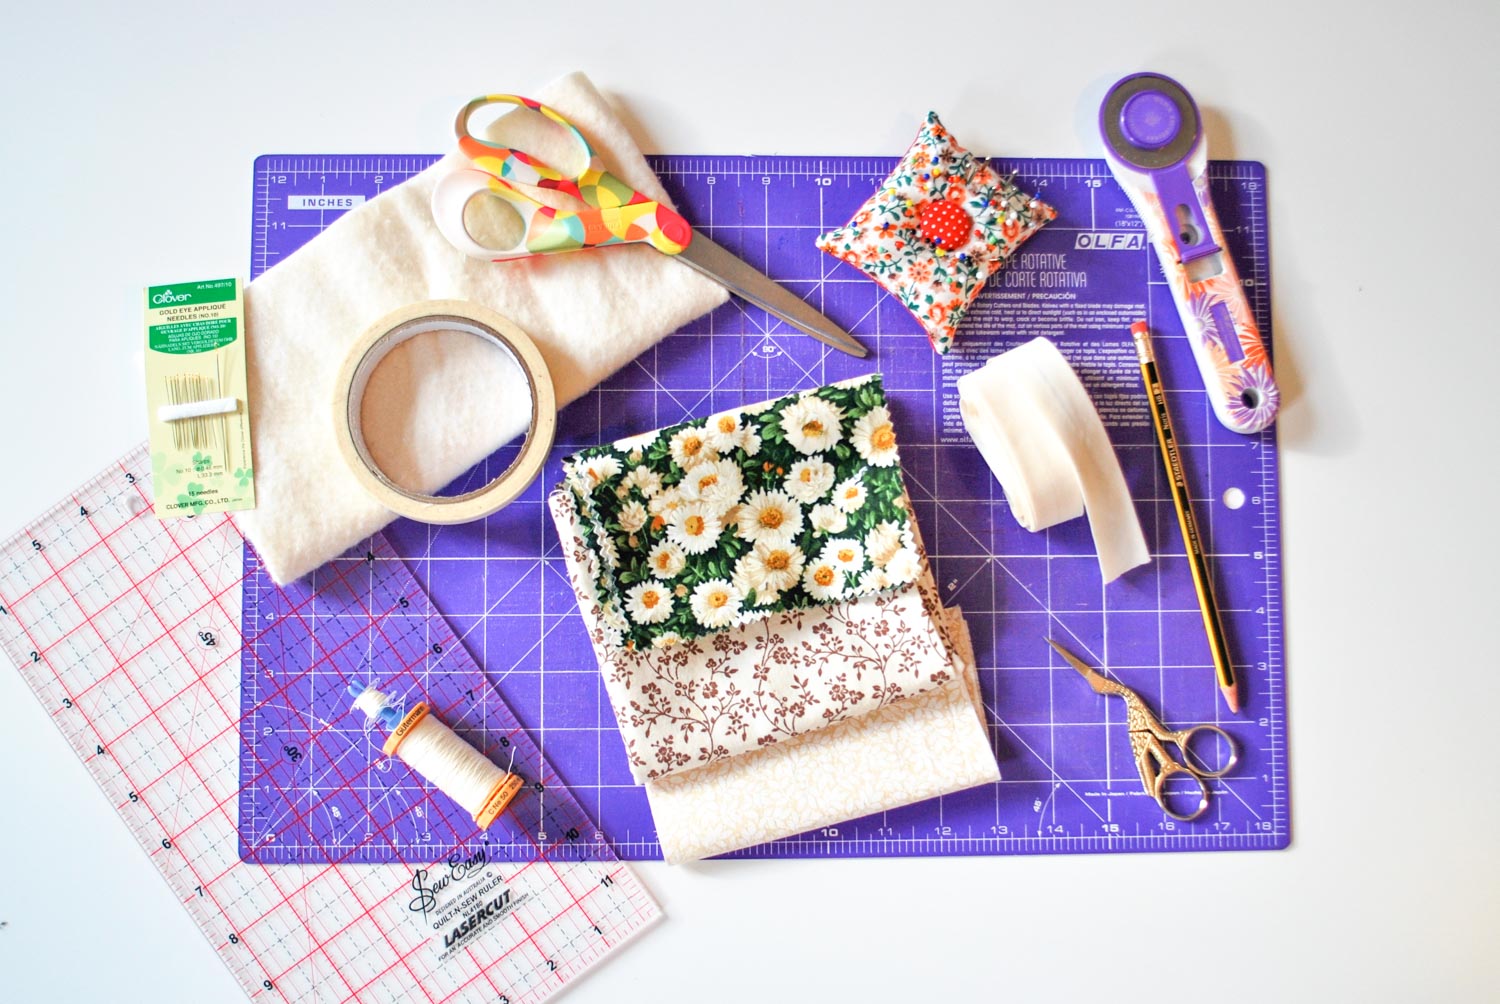
The Basic Sewing Kit
For this course you'll need a basic sewing kit, plus a few additional sizes of pins and needles that are specific to quilting.
For the basic sewing kit, you can buy all the items separately or, alternatively, find a ready made kit that includes the essentials, such as this one from IKEA costing just £10.

A basic sewing kit sold by IKEA for £10.
If you're purchasing kit items separately, we've listed some essentials below. You can read more about these in our blog post and we'll be going over them during class.
- Fabric scissors - Fiskars are a brand that we recommend.
- Embroidery scissors or clippers - Something like these ones are fine.
- Seam ripper (you can use embroidery scissors if the tip is sharp)
- Seam gauge
- Bobbins (Janome compatible, sold at The Stitchery, 50p each)
// PINS & NEEDLES //
The pins and needles used for quilting are often longer than standard, due to the amount of layers being sewn through. Here are our recommendations:
- Pins - 45 to 50mm, Glass Head or Flower Head.
- Hand sewing needles (for basting) - Size 7 basting needles
- Hand sewing needles (for sewing) - Size 8-10 hand sewing needles. Known as 'betweens'.
Some Optional Extras
We have a small supply of these handy items at our studio, which students are welcome to use. Or if you would prefer to use your own, here's a few of the most common tools of the trade:
- A rotary cutter - such as this one by Olfa. These are like pizza cutters for fabric and very handy!
- A self healing cutting mat - For quilting, a mid-sized version around 45x30cm (17x11inches) is good. Here is an example.
- A quilting ruler - a useful transparent ruler, with a gripped surface on the underside. This one (6.5x24inches) will work fine.

Fabrics & Haberdashery
Because we know that some of this information will be explained further by your instructor, and also because you might want to spread the cost a little, we've given a weekly breakdown of your fabric and haberdashery requirements.
// SHOPPING FOR FABRICS //
Please feel free to pick up your fabric from wherever you like, but we do have some recommendations:
- Mandors Fabric Shop, Glasgow
- Remnant Kings, Glasgow
- John Lewis Fabric Department, Glasgow
- Online at The Village Haberdashery or M is For Make.
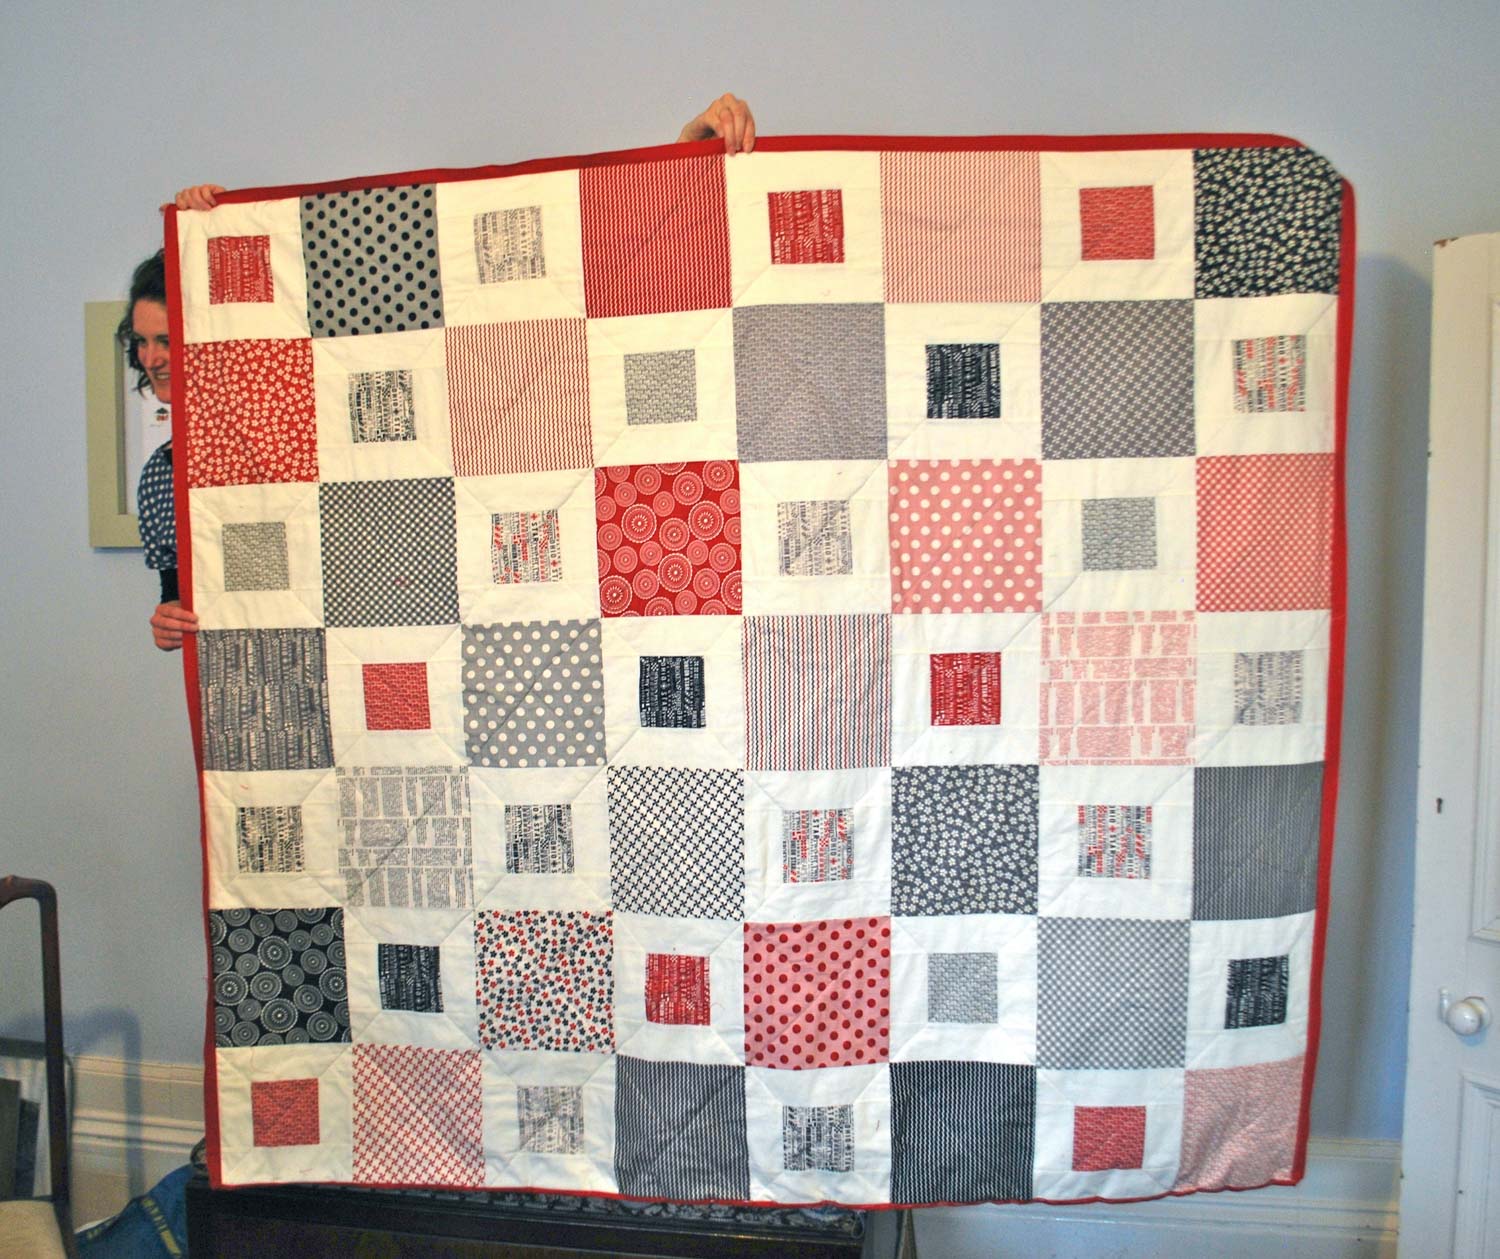
// WEEK ONE //
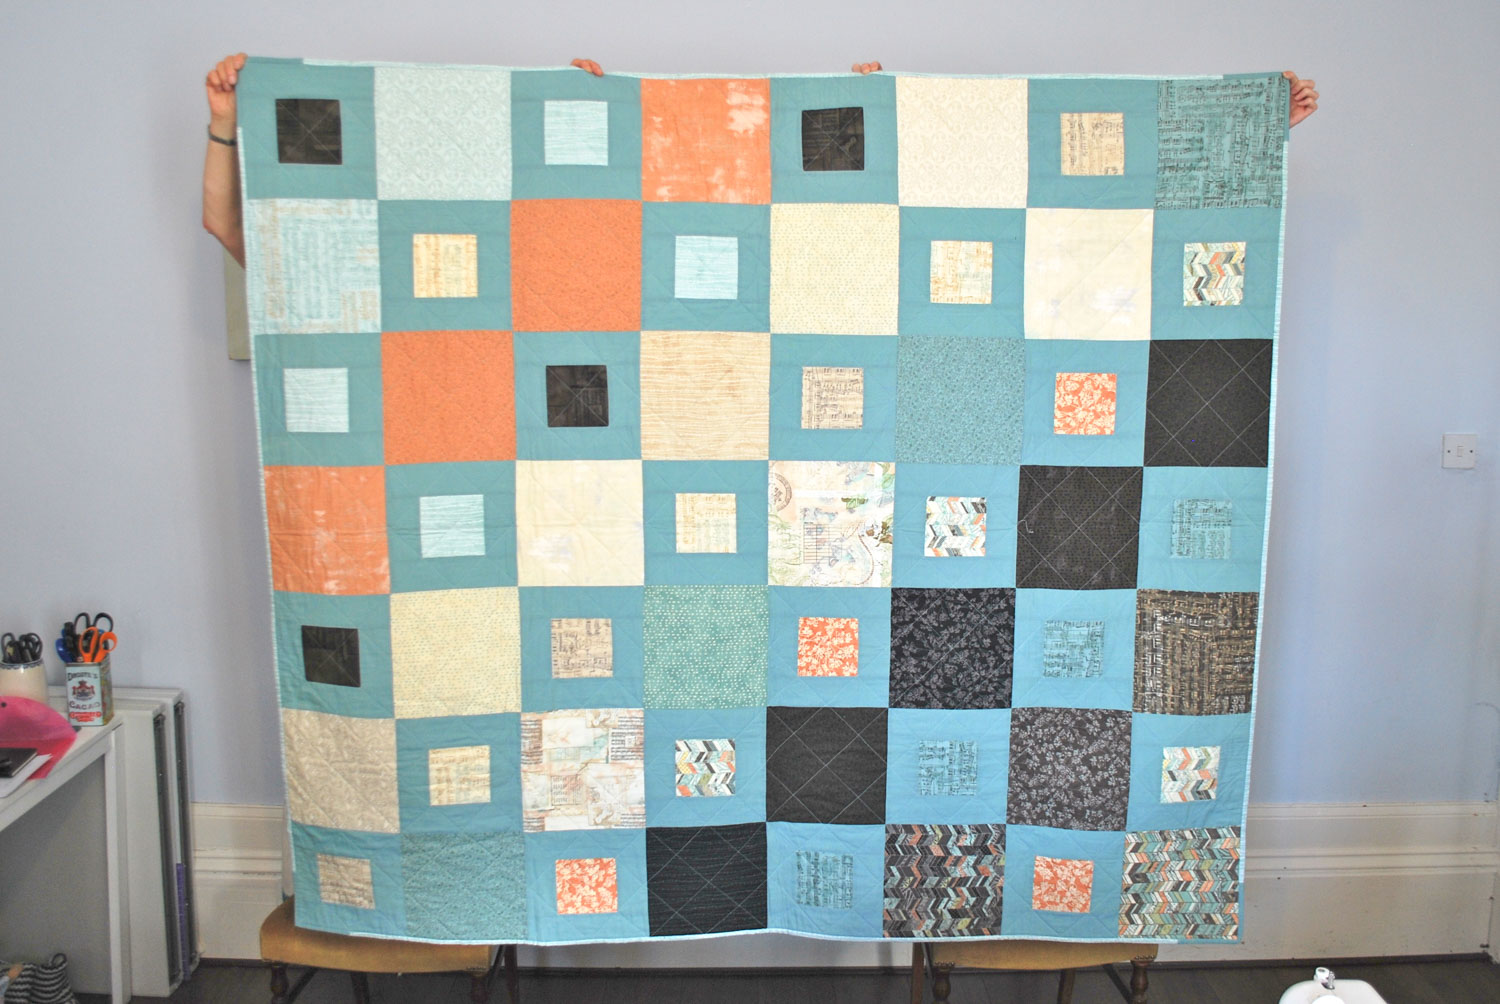
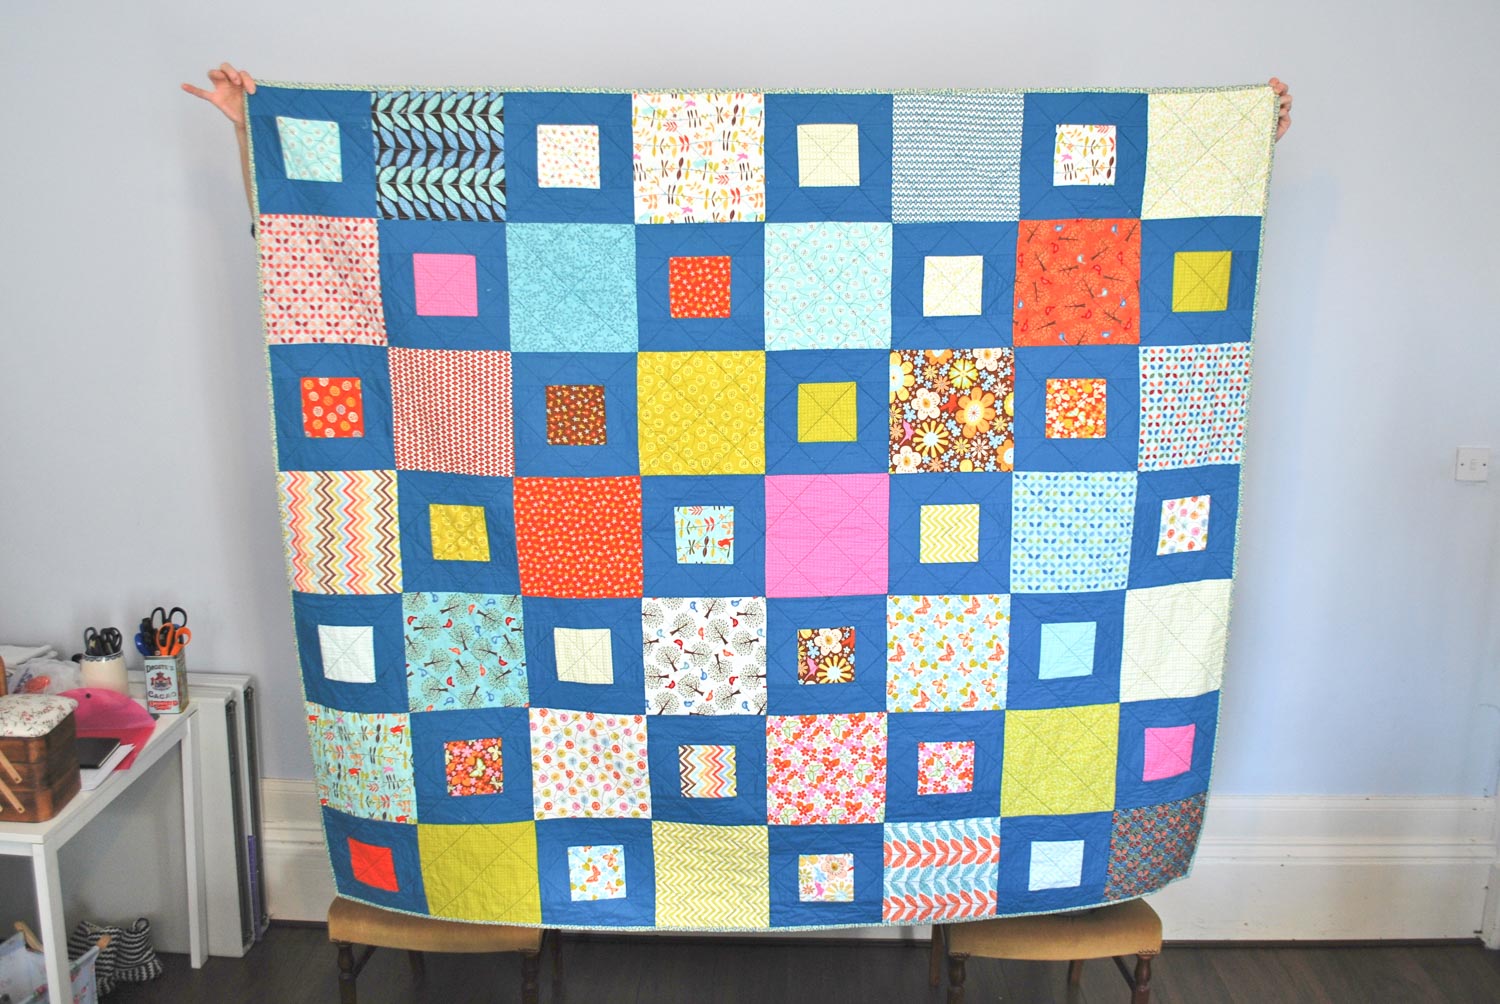
In this course you'll be making a 'sweetie box' quilt. This is a basic quilt of approximately 2 x 2metres, made up of 10" x 10" squares (that's 25 x 25cm for anyone born after the seventies!).
For your first week of class you will need to bring:
- 1 x 'layer cake' - This is a pack of 42 assorted fabrics, conveniently pre-cut into 10" x 10" squares, and specifically chosen to work well together. Online retailers of layer cakes include Plush Addict, The Cotton Patch, Quilters Haven and Sleeping Bear Crafts.
- 2 metres of plain (solid) colour fabric, 44" (115cm) wide - This plain colour will form the base of your alternate squares, so it should compliment your layer cake theme. We recommend 100% cotton fabric for this. If you're not sure what to buy, take your layer cake to a fabric shop and ask to see their 'quilting fabrics' or 'craft fabrics' . If your plain fabric is a strong colour, such as a vibrant red or blue, then we recommend pre-washing it to avoid the colours bleeding at a later date.
- 100% cotton thread - Mettler is a good brand for this. The all-in-one sewing kits sometimes come with thread, but these tend to be flimsy and can cause unwanted fluff. Colourwise, choose the closest match to the colour palette of your layer cake. If you cannot find a match, always go slightly darker instead of lighter.
- Sewing machine needles - Size 80/12 (size chart)

The Sweetie Box quilt by one of our students from a previous course.

An example of a layer cake. Aspen Frost collection by Moda, available at SleepingBearCrafts.com

All the fabrics in the Aspen Frost layer cake
// WEEK FIVE //
Within the first few of weeks of class, your instructor will give you a fuller explanation of the supplies below, including advice on where to source each item. So we recommend not purchasing these items until then.
In week three you will be taught how to create the 3 core layers of your quilt. For this you will need:
- 1.8 to 2 metres (70" to 80") of 90" wide quilting wadding - 100% Cotton or 80/20 cotton blend. This will be available to purchase from your instructor at a competitive price. Alternatively you can purchase it at Mandors Fabric Shop, Remnant Kings, or online at Barnyarns.
- 2 metres of extra wide backing fabric - or 4m of standard 45" quilting fabric.
- 100 % cotton thread
- 1 roll of masking tape
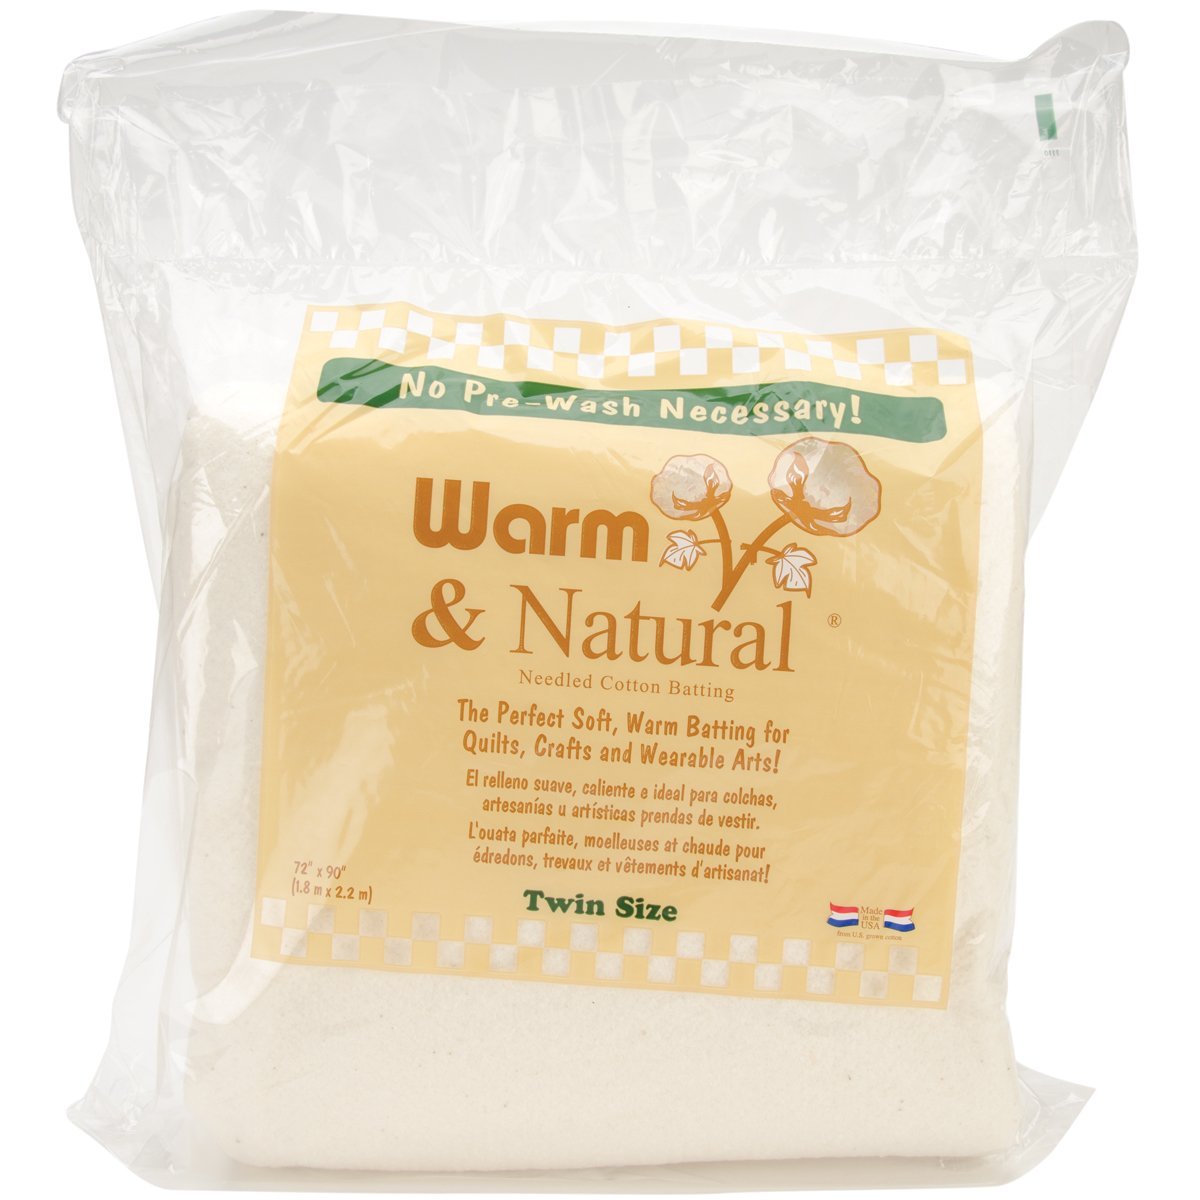
100% Cotton Wadding - Sold as a 72" x 90" pack by Barnyarns. This is enough for the Sweetie Box quilt.
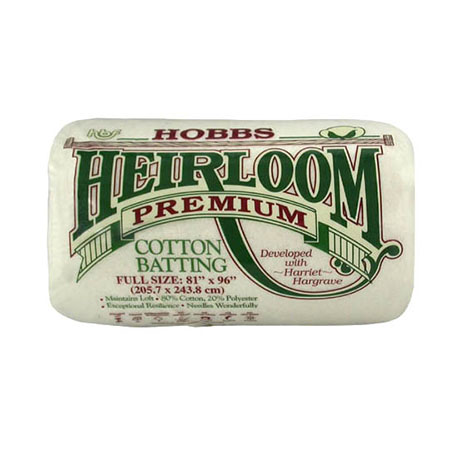
80/20 Cotton blend wadding available from Barnyarns.
// WEEK SEVEN //
For this week, you will need to bring 1/2 metre of quilting or 'craft' cotton for your quilt binding. This will be explained in the weeks that precede, so don't worry about buying it at the start.
The quilt binding is the last thing you will add to your quilt, giving it a finished look and protecting the edges of the fabric from fraying.
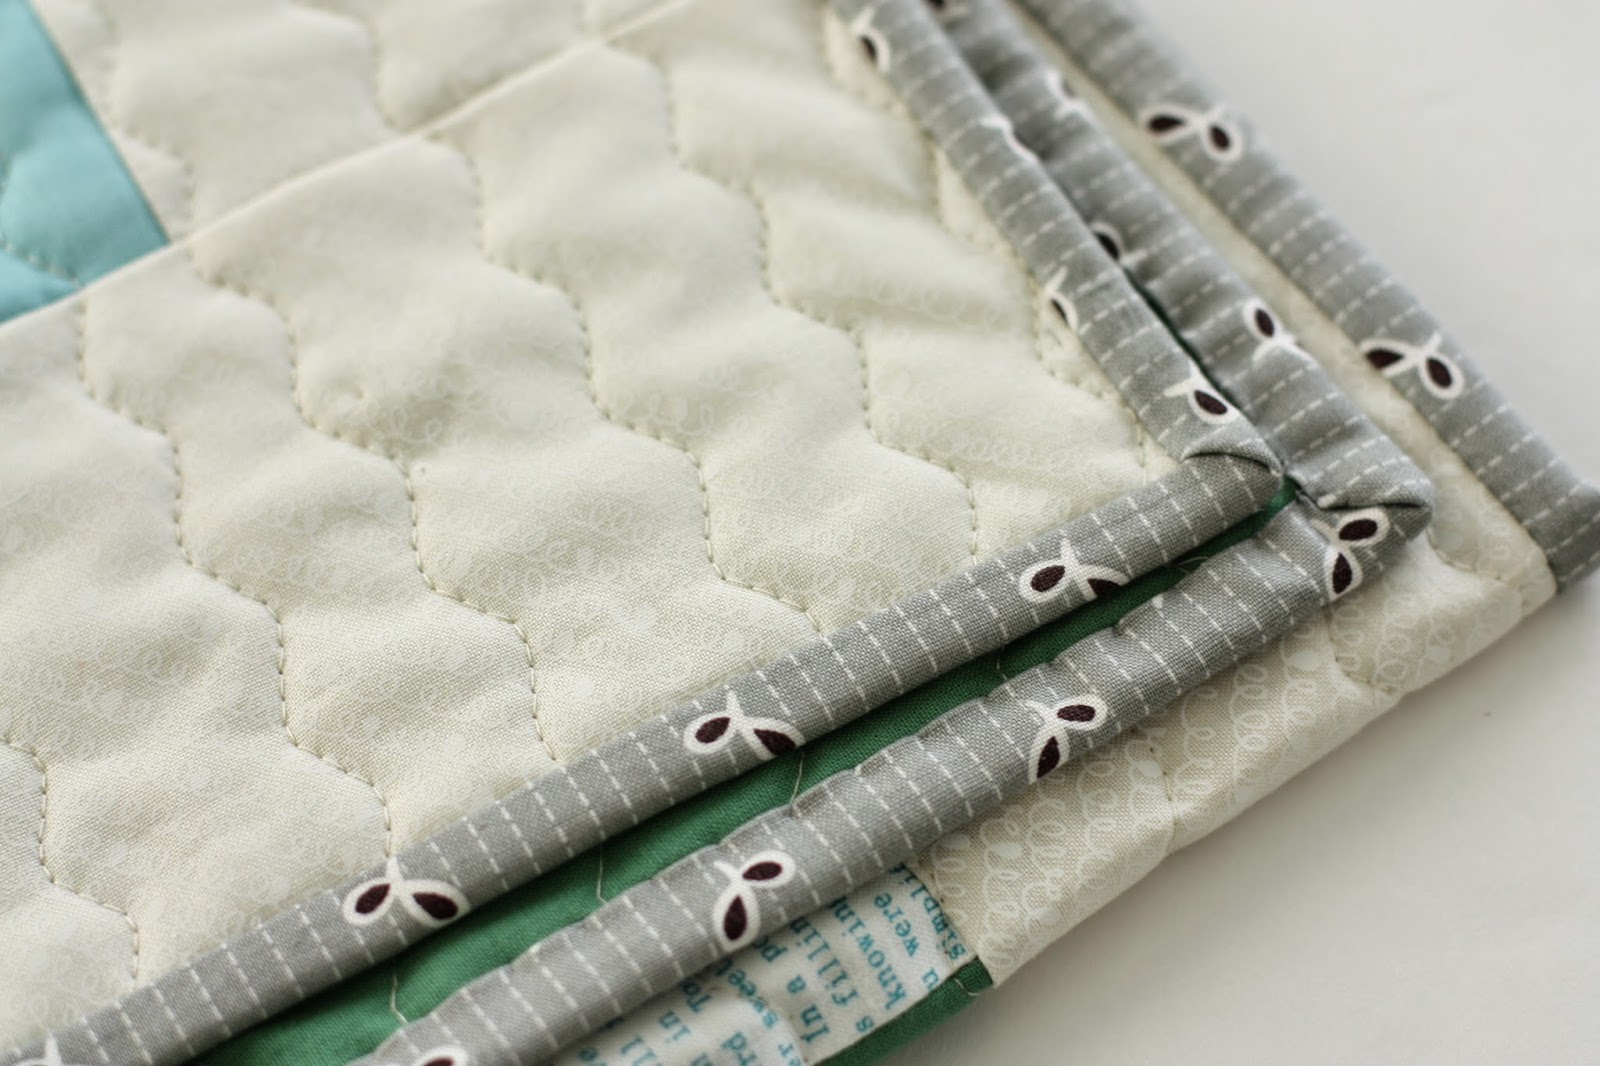
Grey striped binding on the edges of a quilt.
Course Overview
// WEEK 1 //
Using your Layer Cake, selecting and cutting fabrics for ‘squares within squares’ (hereafter called Blocks )
Cutting solid colour fabric for piecing with Layer Cake fabrics
Demonstration of machine piecing of Block
Create your own sample Block
// WEEK 2 //
Piecing own fabrics to make 28 Blocks
Pressing for patchwork
// WEEK 3 //
Complete piecing 28 Blocks
At home before Week 4: lay out and record design choices – guidance & instruction given
// WEEK 4 //
- Piecing to make 8 rows of patchwork for quilt front (top layer)
// WEEK 5 //
Complete piecing of 8 rows to make patchwork front (top layer)
Combine all rows to complete top layer
Piece backing fabrics if required
// WEEK 6 //
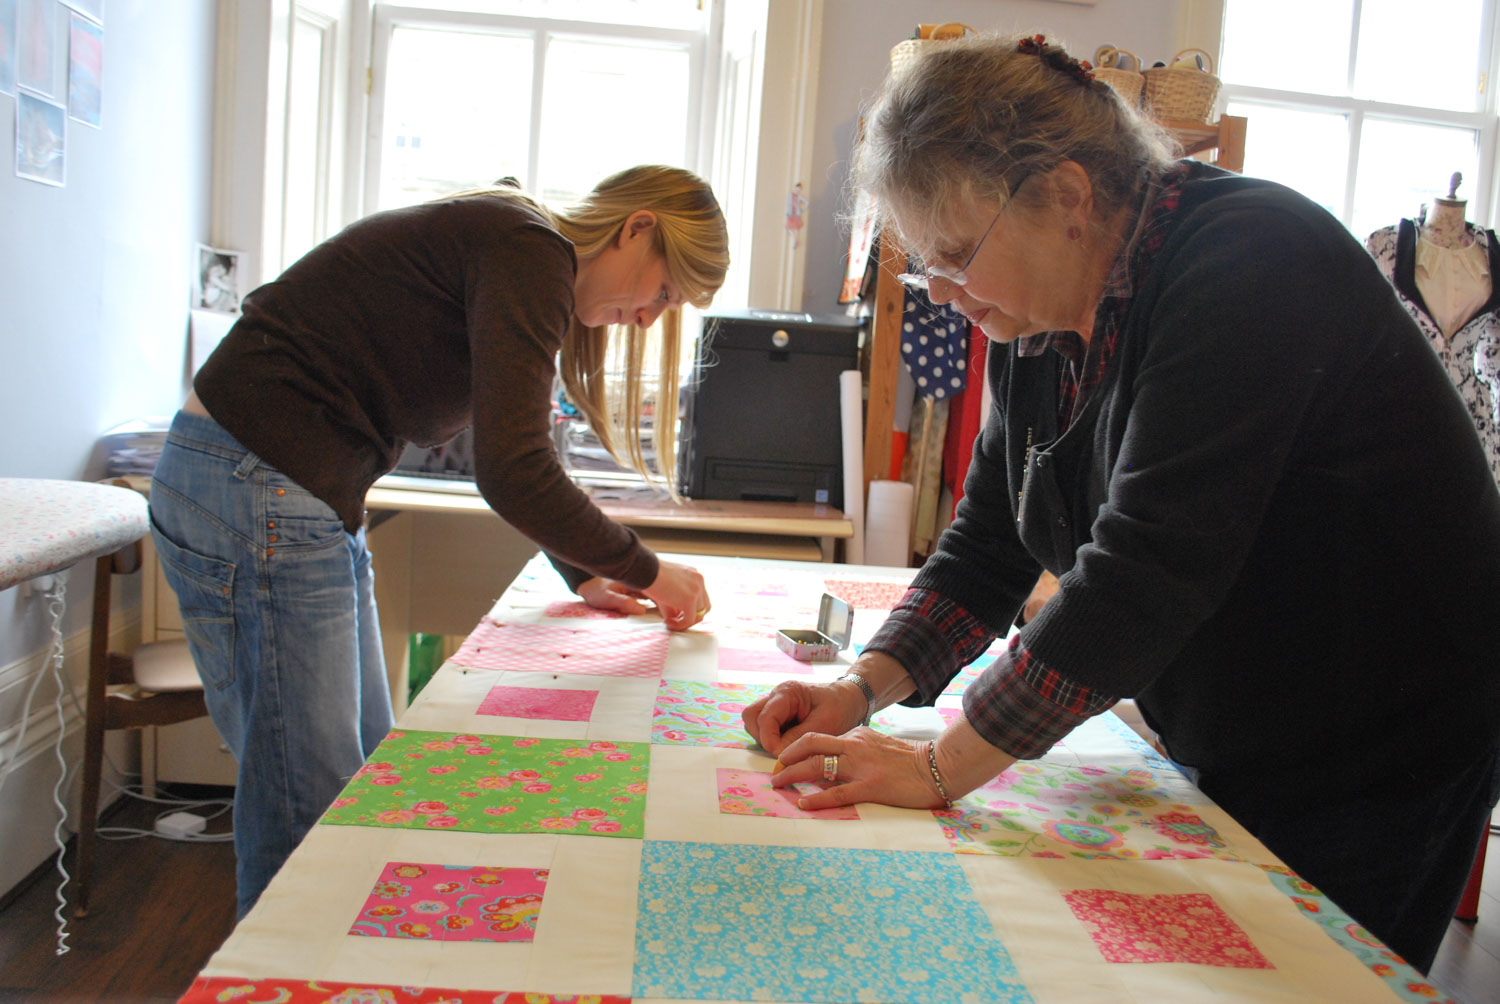
Layering-up the quilt: working in pairs
Class time divided into 2 x 1 ½ hr sessions for pinning and tacking 3 quilt layers (top, wadding, back)
Note: you will be standing throughout the session – please wear comfortable shoes for this!
// WEEK 7 //
Machine quilting
Adjusting machine for quilting and use of ‘quilting foot’
Maintaining even stitching and straight lines
// WEEK 8 //
Machine quilting
// WEEK 9 //
Cutting, constructing and applying straight-grain/mitred corner binding (edging) to quilt
Fine finishing techniques
Care of Quilt recommendations