
After many hours of sewing, keyboard tapping and trying to balance daylight lamps whilst taking photographs, we've finally reached our last tutorial of this Sewalong. You'll be happy to know that we'll still have one more blog post, featuring our finished garments, and another one featuring our competition finalists, with a chance to vote on your favourite skirt. But as far as tutorials go, this is our final one for this Sewalong!
And what better topic to finish on than that of BUTTONS! I love buttons. I love deciding which buttons to finish my garment with. I love collecting buttons; especially old, vintage ones that were bought years ago but never actually used. I have various buttons stashes dotted about my studio, and have even been known to keep indexed files of buttons taped to bits of A4 card!

Photographing Naomi in her toile for one of the first posts.
So for me this is a fitting end to our first Sewalong. We'll be covering how to make your buttonholes and how to sew your buttons onto your skirt. We'll be doing this with the use of some snappy little videos; but we'll also have some written step-by-step instructions to go with them.
Happy Sewing!
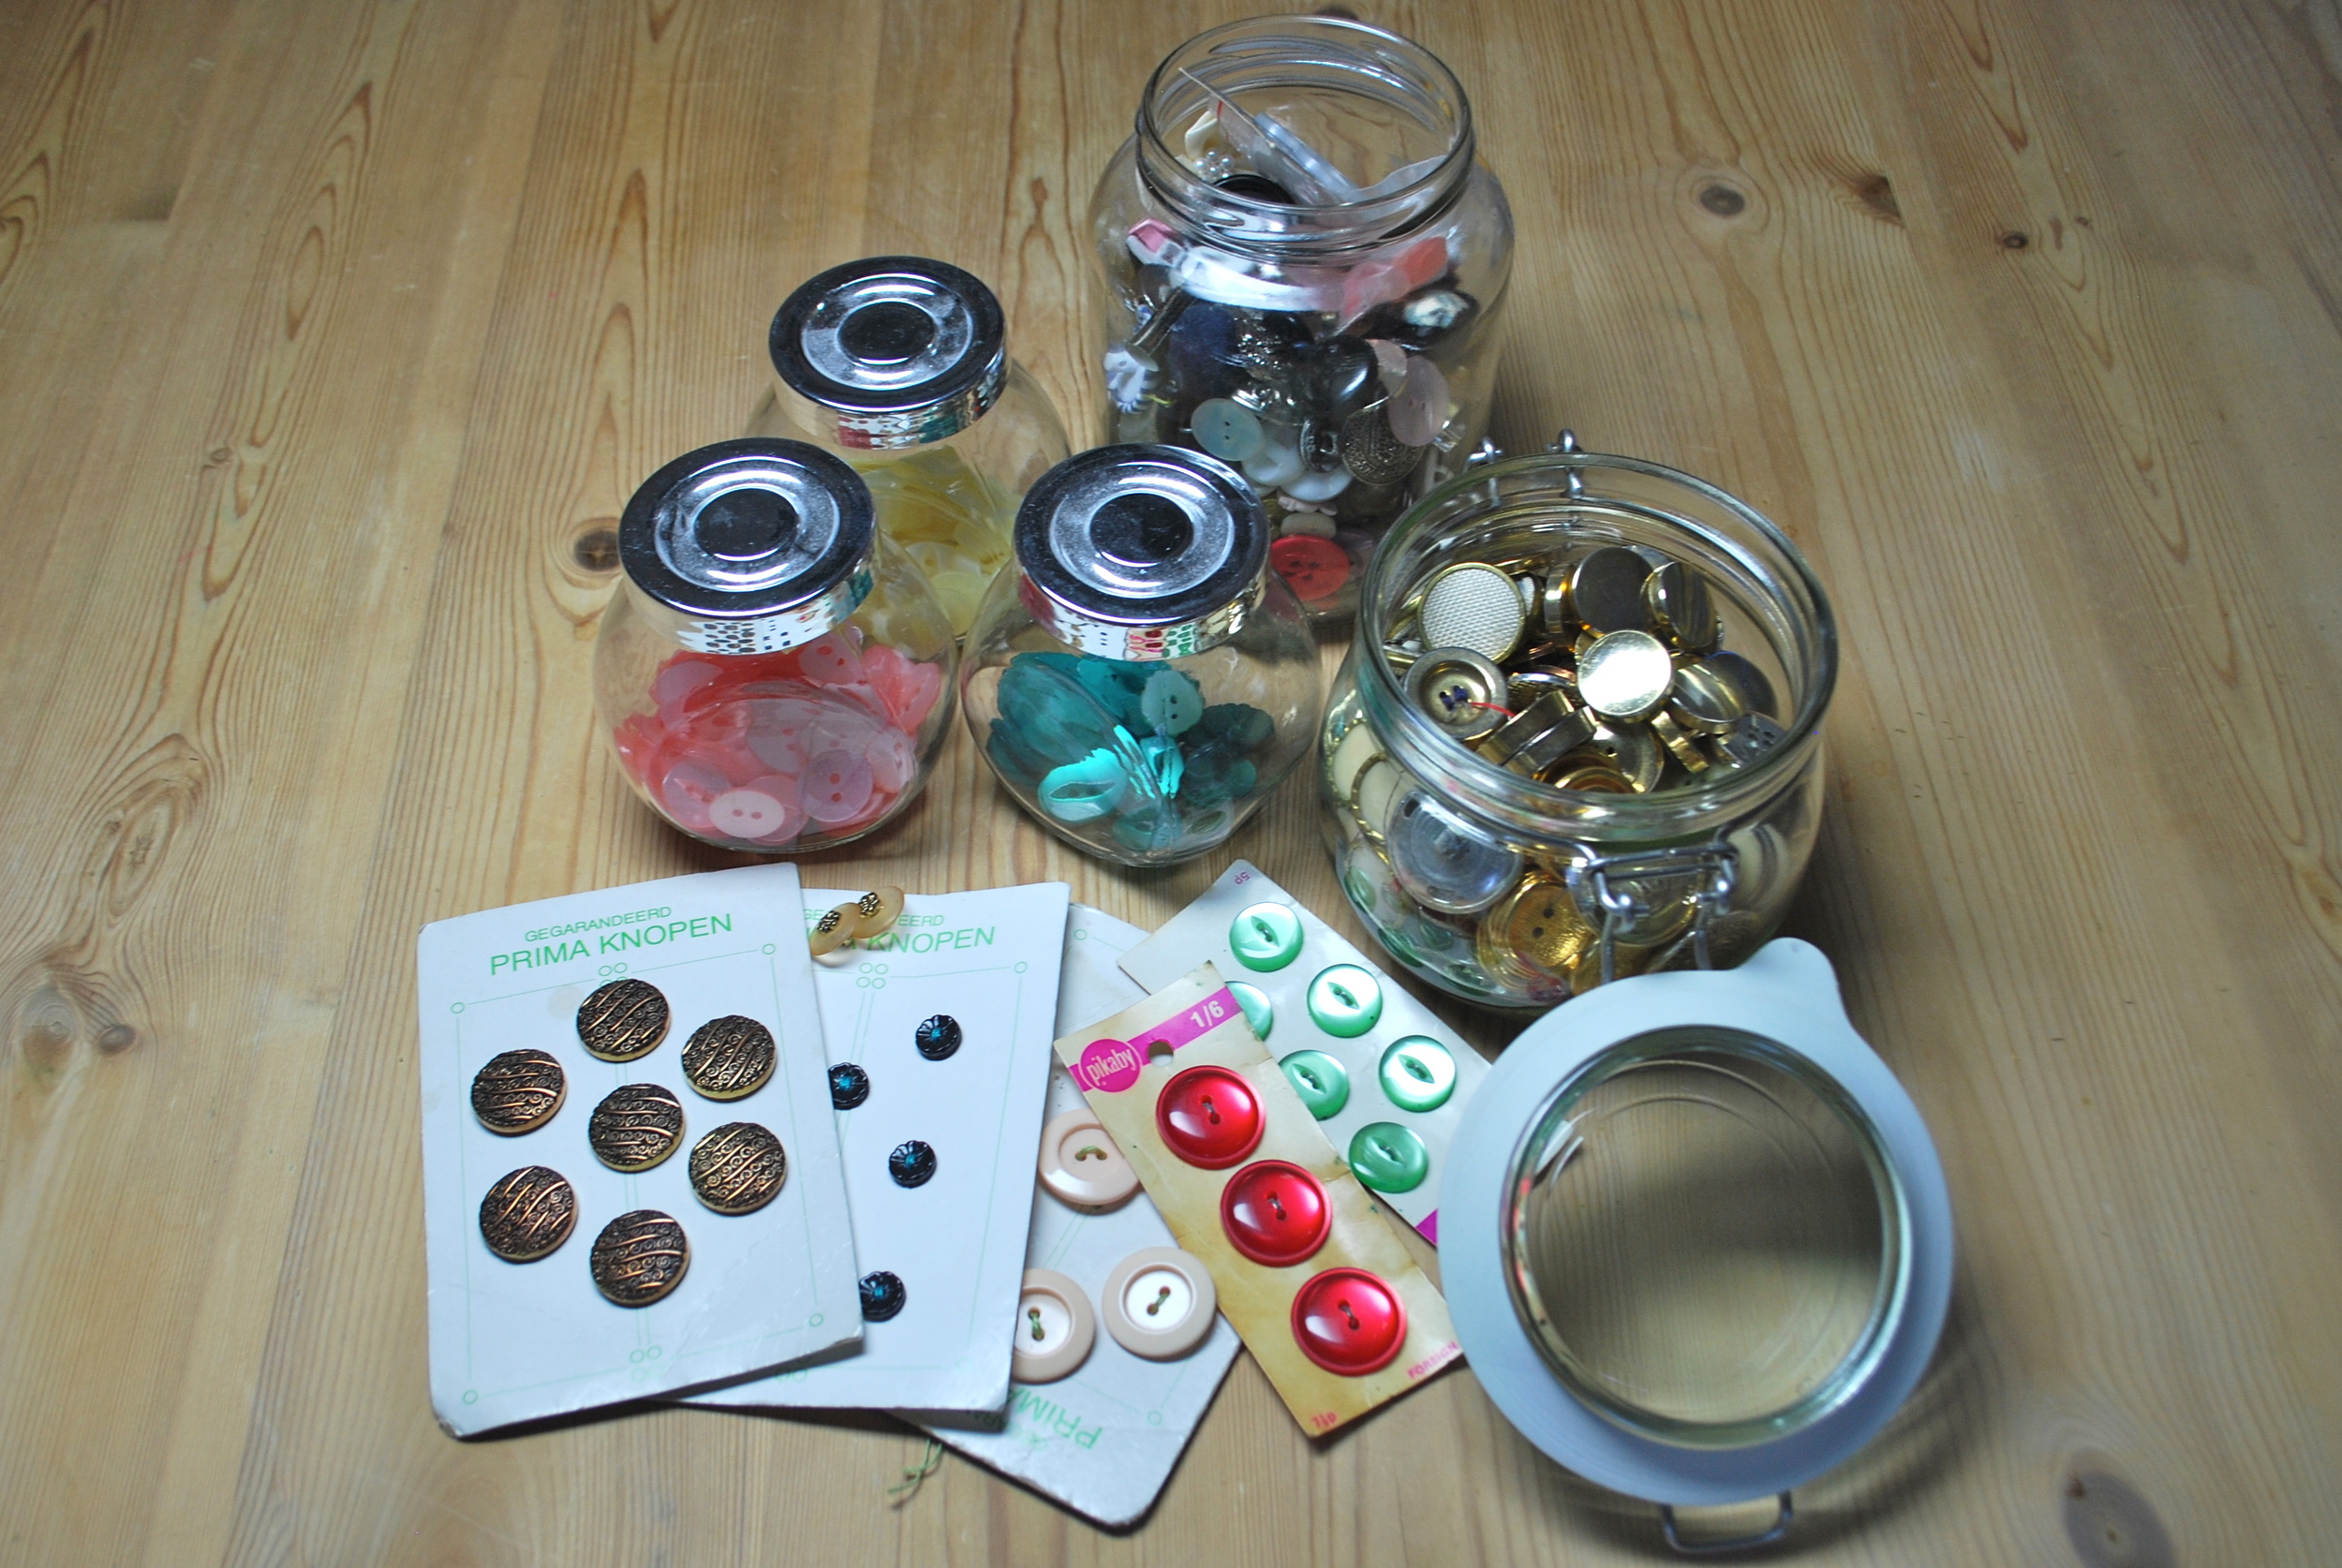
Just some of the buttons I have lying around my studio.
Buttonholes
Sewing machines generally come with two types of buttonhole stitches: There's the automatic or 1-step buttonhole, which does most of the work for you, and then there's the 4-step buttonhole, which….well, it also does most of the work for you, but you have to twiddle the dials a bit more.
Version 1
For Version 1 of our Zinnia skirt, I used a computerised machine with 1-step buttonholes for my button placket. If you have a similar machine you can follow our handy tutorial PDF.
I also used a hook and bar instead of a button at the waistband. The fabric at the waistband is uneven because of the gathers, so it would probably cause the machine to jam up when trying to do a buttonhole. Plus I also just like the look of the hook and bar.
Also for this version, I sewed the buttons on by hand, which is my preferred way to do it. My mother-in-law told me once that, when she met my father-in-law, this was their first romantic exchange: she sewed the buttons back onto his shirt, which of course won him over completely. Ladies take note. And if you want a wee guide to sewing buttons by hand, you can download our handout for this.
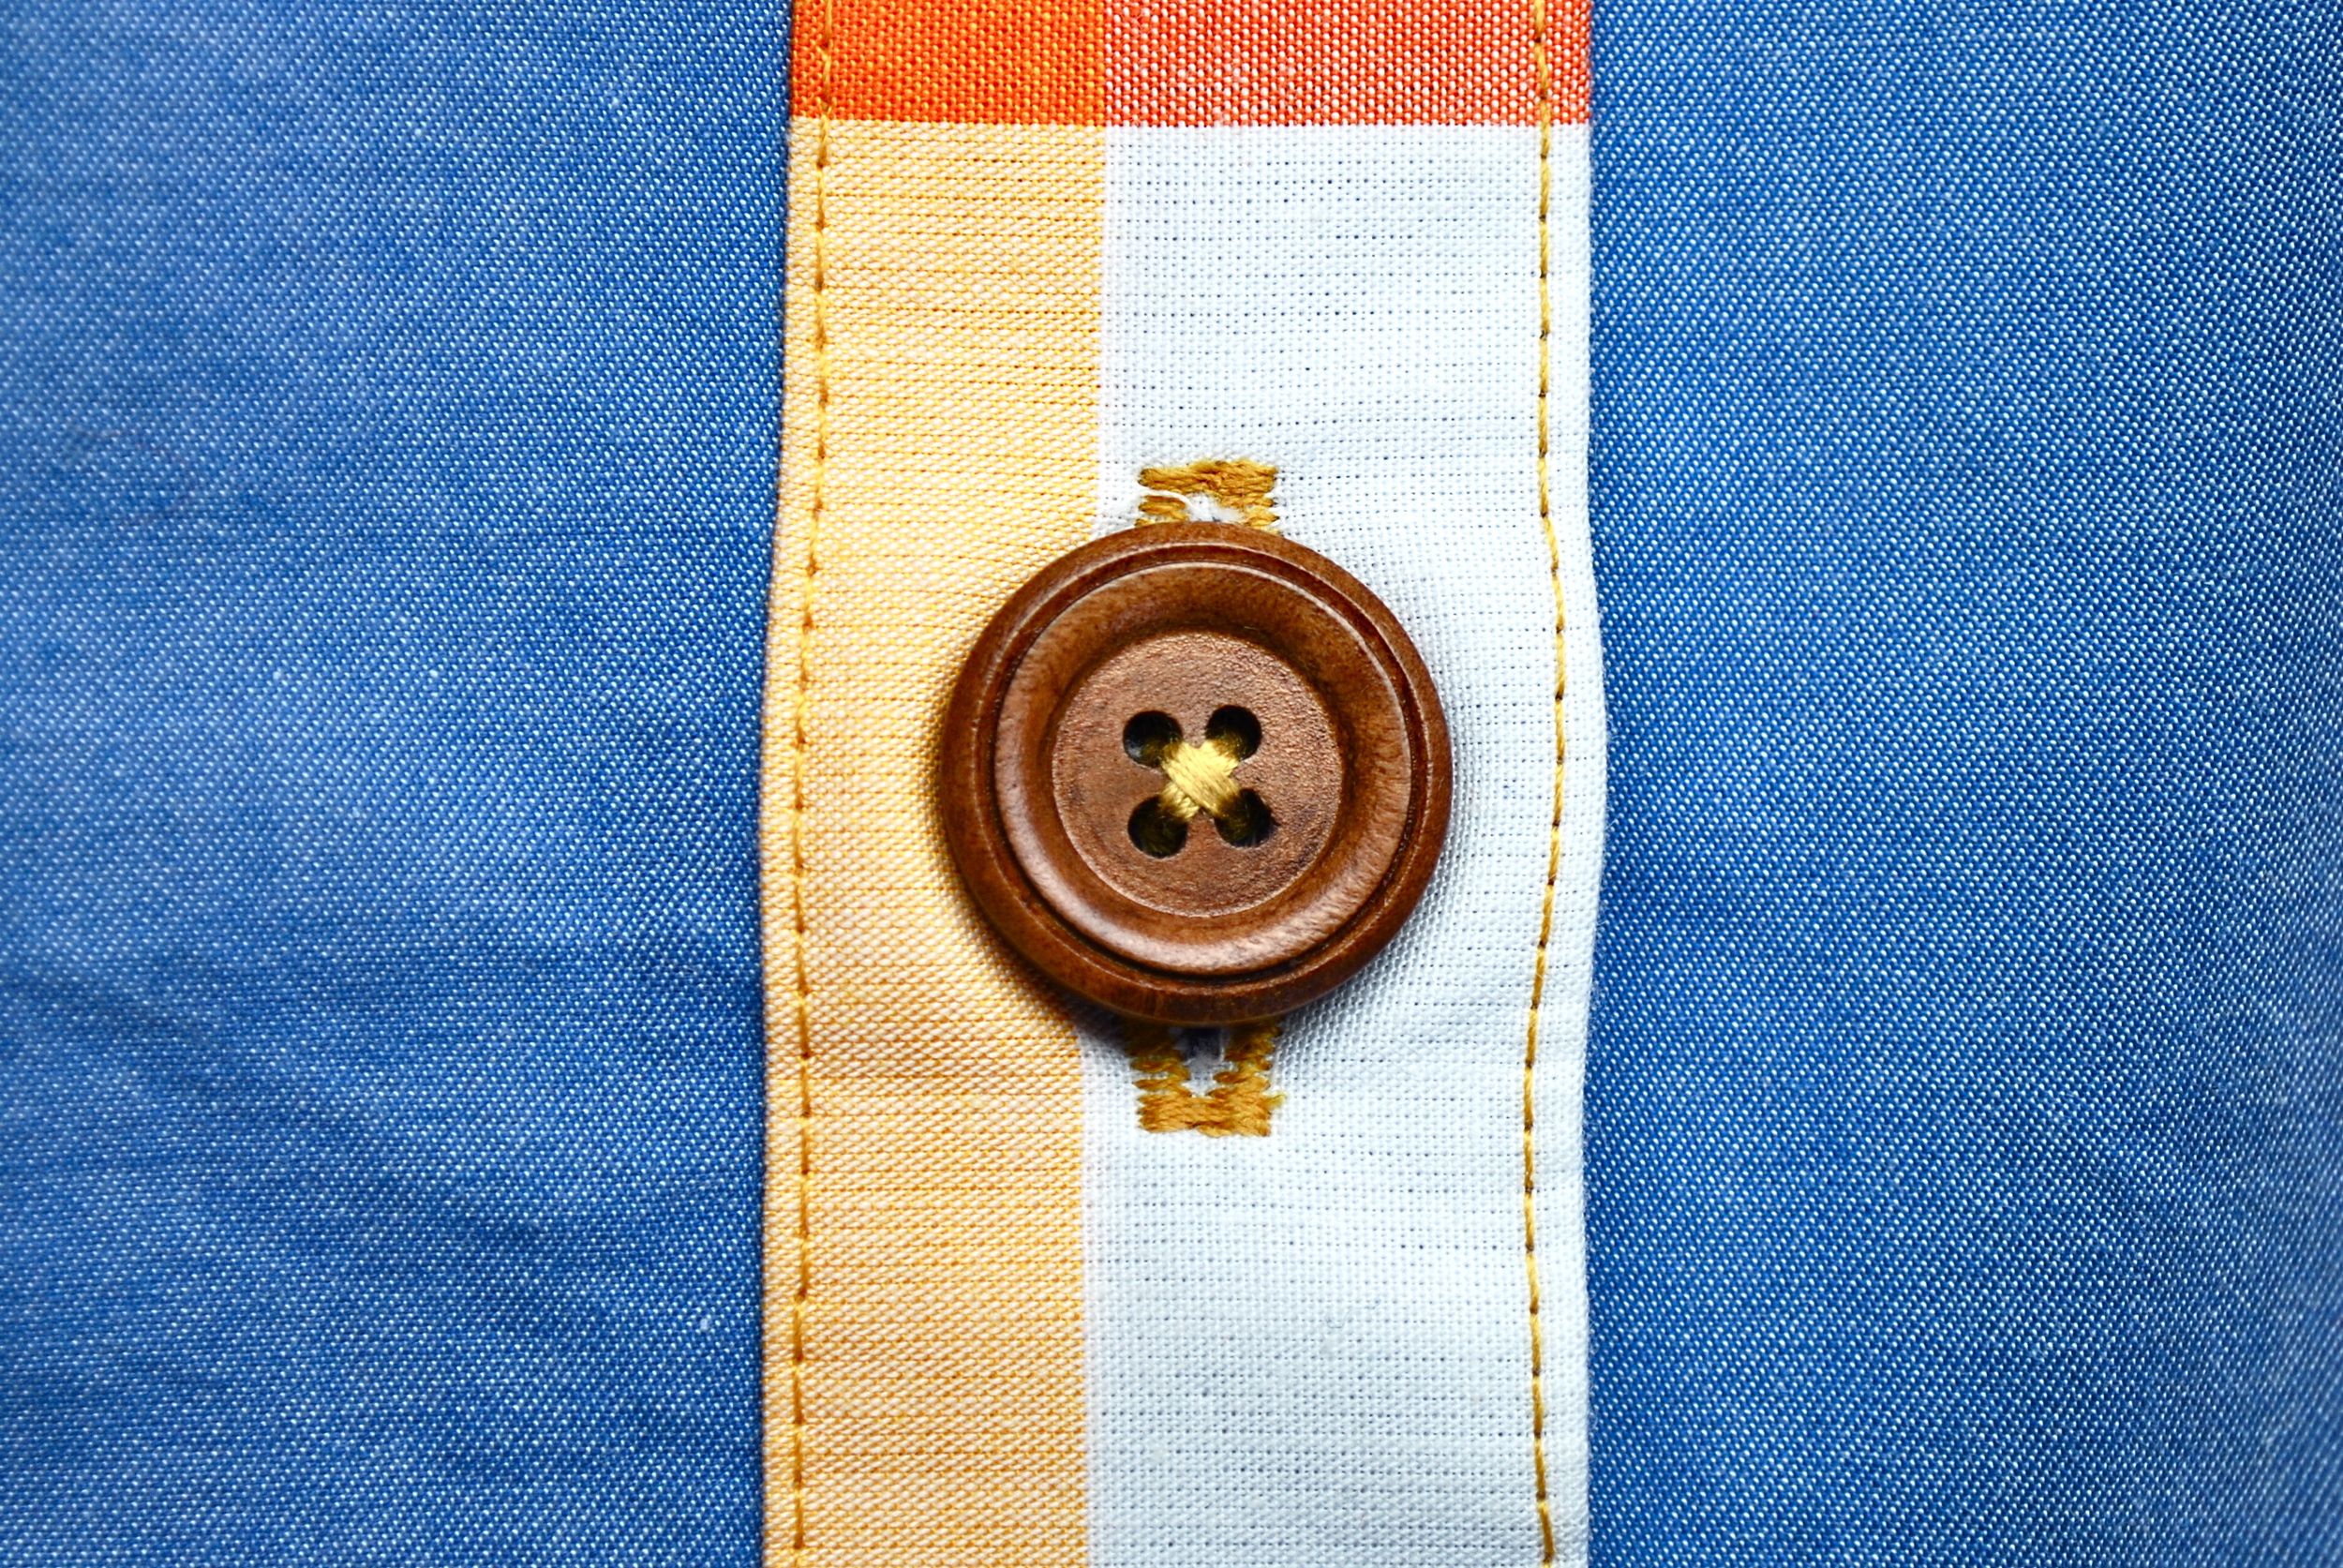
The buttoholes and button for Version 1

The hook and bar on Version 1
Version 2
For our buttonhole tutorial we're going to cover the 4-step buttonhole that we used on Version 2. As the name suggests, a 4-step buttonhole is stitched in 4 stages: down one side of the hole, then at the end, then back up the other side, and finally at the end you started at. And each of these stages is represented by a setting on your machine dial, with steps 2 and 4 sharing a setting, since they are essentially the same stitch.
The stitch used for a buttonhole is a narrow zig-zag type; basically a satin stitch. You should be able to see clearly your needle moving from left to right. At points you'll be asked to stop sewing specifically on a right-hand stitch, so pay close attention to the needle movements.
We've shown each of the stages of the 4-step buttonhole in our video below, followed by our step-by-step instructions. I would highly recommend practicing this on a scrap piece of equal weight fabric before attempting it on your skirt. Especially if this is your first time doing it.
STEP 1 - Mark your buttonhole as shown: a vertical centreline with two horizontal lines at either end.
STEP 2 - Change out your regular foot for a buttonhole foot or a satin stitch foot (often foot F).
STEP 3 - Place your fabric under the foot, with the vertical buttonhole mark running lengthwise towards you. Turn your hand-wheel until it is on a left-hand stitch, and bring it down into the fabric. It should sit 3mm to the left of the vertical line and pierce the fabric exactly on the horizontal line that is furthest from you.
STEP 4 - Set the selector dial at [1] and stitch straight until you reach the horizontal line that is nearest to you.
STEP 5 - Set your pattern selector dial to [2-4]. Sew 5 stitches and finish on a right-hand stitch.
STEP 6 - Set the dial to [3] and stitch back up the other side until you reach the first marking. Again, stop on a right-hand stitch.
STEP 7 - Set the dial to [2-4] and stitch for 5 stitches.
STEP 8 - Lift up your presser foot and release your fabric. Finish off the buttonhole by tying off the ends of the thread and clipping neatly.
Machine Sewn Button
For Version 2 of my skirt, I sewed the button on using my Janome CXL301. It's best to put the button on after you've done the buttonhole. This way you can use the buttonhole to make the centre placement of your button and line them up really well.
Below is the video of how I machine sewed my button on, along with some step-by-step instructions.
STEP 1 - Mark the centre placement of your button through your buttonhole. The Zinnia pattern has transferable markings on it for the placement of buttons. But I always find it best to do these once the garment has been made, as the markings usually shift a little during construction.
STEP 2 - To sew on your button, you'll need to replace your regular foot with a Button Sewing Foot. If you don't have one of these, you can always use the Sating Stitch Foot (foot F) that comes with your machine. The advantage of the Button Sewing Foot is the grip features on the bottom that hold the button in place really well during stitching.
STEP 3 - Before sewing on the button you'll need to lower the feed dogs on your machine. On my CXL301 this is done by moving a small slider underneath the arm of the machine, behind the plastic cover. The feed dogs are what cause the fabric to feed through your machine, but since we simply want our needle to move side-to-side, we are removing this action. If you don't have an option to drop the feed dogs, you should have a plate that fits over the feed dog and serves the same purpose.
STEP 4 - The button is sewn using a zig-zag stitch. But since the button is held stationary, instead of creating a zig-zag, the needle moves side to side, stitching into each of the two holes of the button. If your button has four holes, you can simply repeat this again for the second set.
Measure the distance between the hole centres on your button. For my button this was 4mm, so I set my machine to a 4mm stitch width (my LCD doesn't actually flash like this! we had problems with filming it due to the frequency of the light output and the frame-rate of our camera…go figure). The stitch length doesn't matter at this point because our button is stationary.
STEP 5 - Place your button onto your fabric, centering it on your centre marking. Place it under the Button Sewing Foot and bring the foot down to grip the button. You want your needle to be on a left-hand stitch at this point.
STEP 6 - The first thing we're going to do is to create a lockstitch through the left-hand hole of the button. Because my machine is computerised, it automatically creates a lockstitch at the start of my zig-zag stitch. But your machine may require you to select this manually.
Use your hand-wheel to bring your needle down through the left-hand hole and keep turning the wheel until the lockstitch is finished and the needle starts moving sideways to create the zig-zag stitch. The reason you first stitch manually is because if the position of the button is not perfect and the needle hits the button, the needle or the button or both may break. Not fun!
STEP 7 - At this point you can start using your foot pedal. Stitch about 8 stitches, stopping again on the left-hand stitch. Finish up by doing a lockstitch.
STEP 8 - Release your garment from the foot and clip your threads. To finish, tie your threads off and clip them neatly.
You're button is now complete! It's worthwhile checking it to make sure that it fits through your buttonhole well and that your garment sits right with the zipper up and the button fastened.