
Welcome to the (long awaited) Part 3 of the Zinnia Sewalong. In this post we'll be discussing the importance of making a toile, pattern cutting layouts, pinning and marking, and how to cut out your fabric.
A BIT OF CLARITY
Before we continue, it's probably worth clarifying exactly what versions of the garment we're going to be covering during the Sewalong, and in what sizes. Since there are two methods of contouring the waist offered in this pattern - gathering and pleating - we'll be covering both. I will be making Versions 1 and 3, which are gathered, in a Size 12/14 and my wonderful intern, Naomi, will be making Version 2, which is pleated.
We'll be referring to each of these versions throughout this Sewalong, so pay close attention!
The Toile
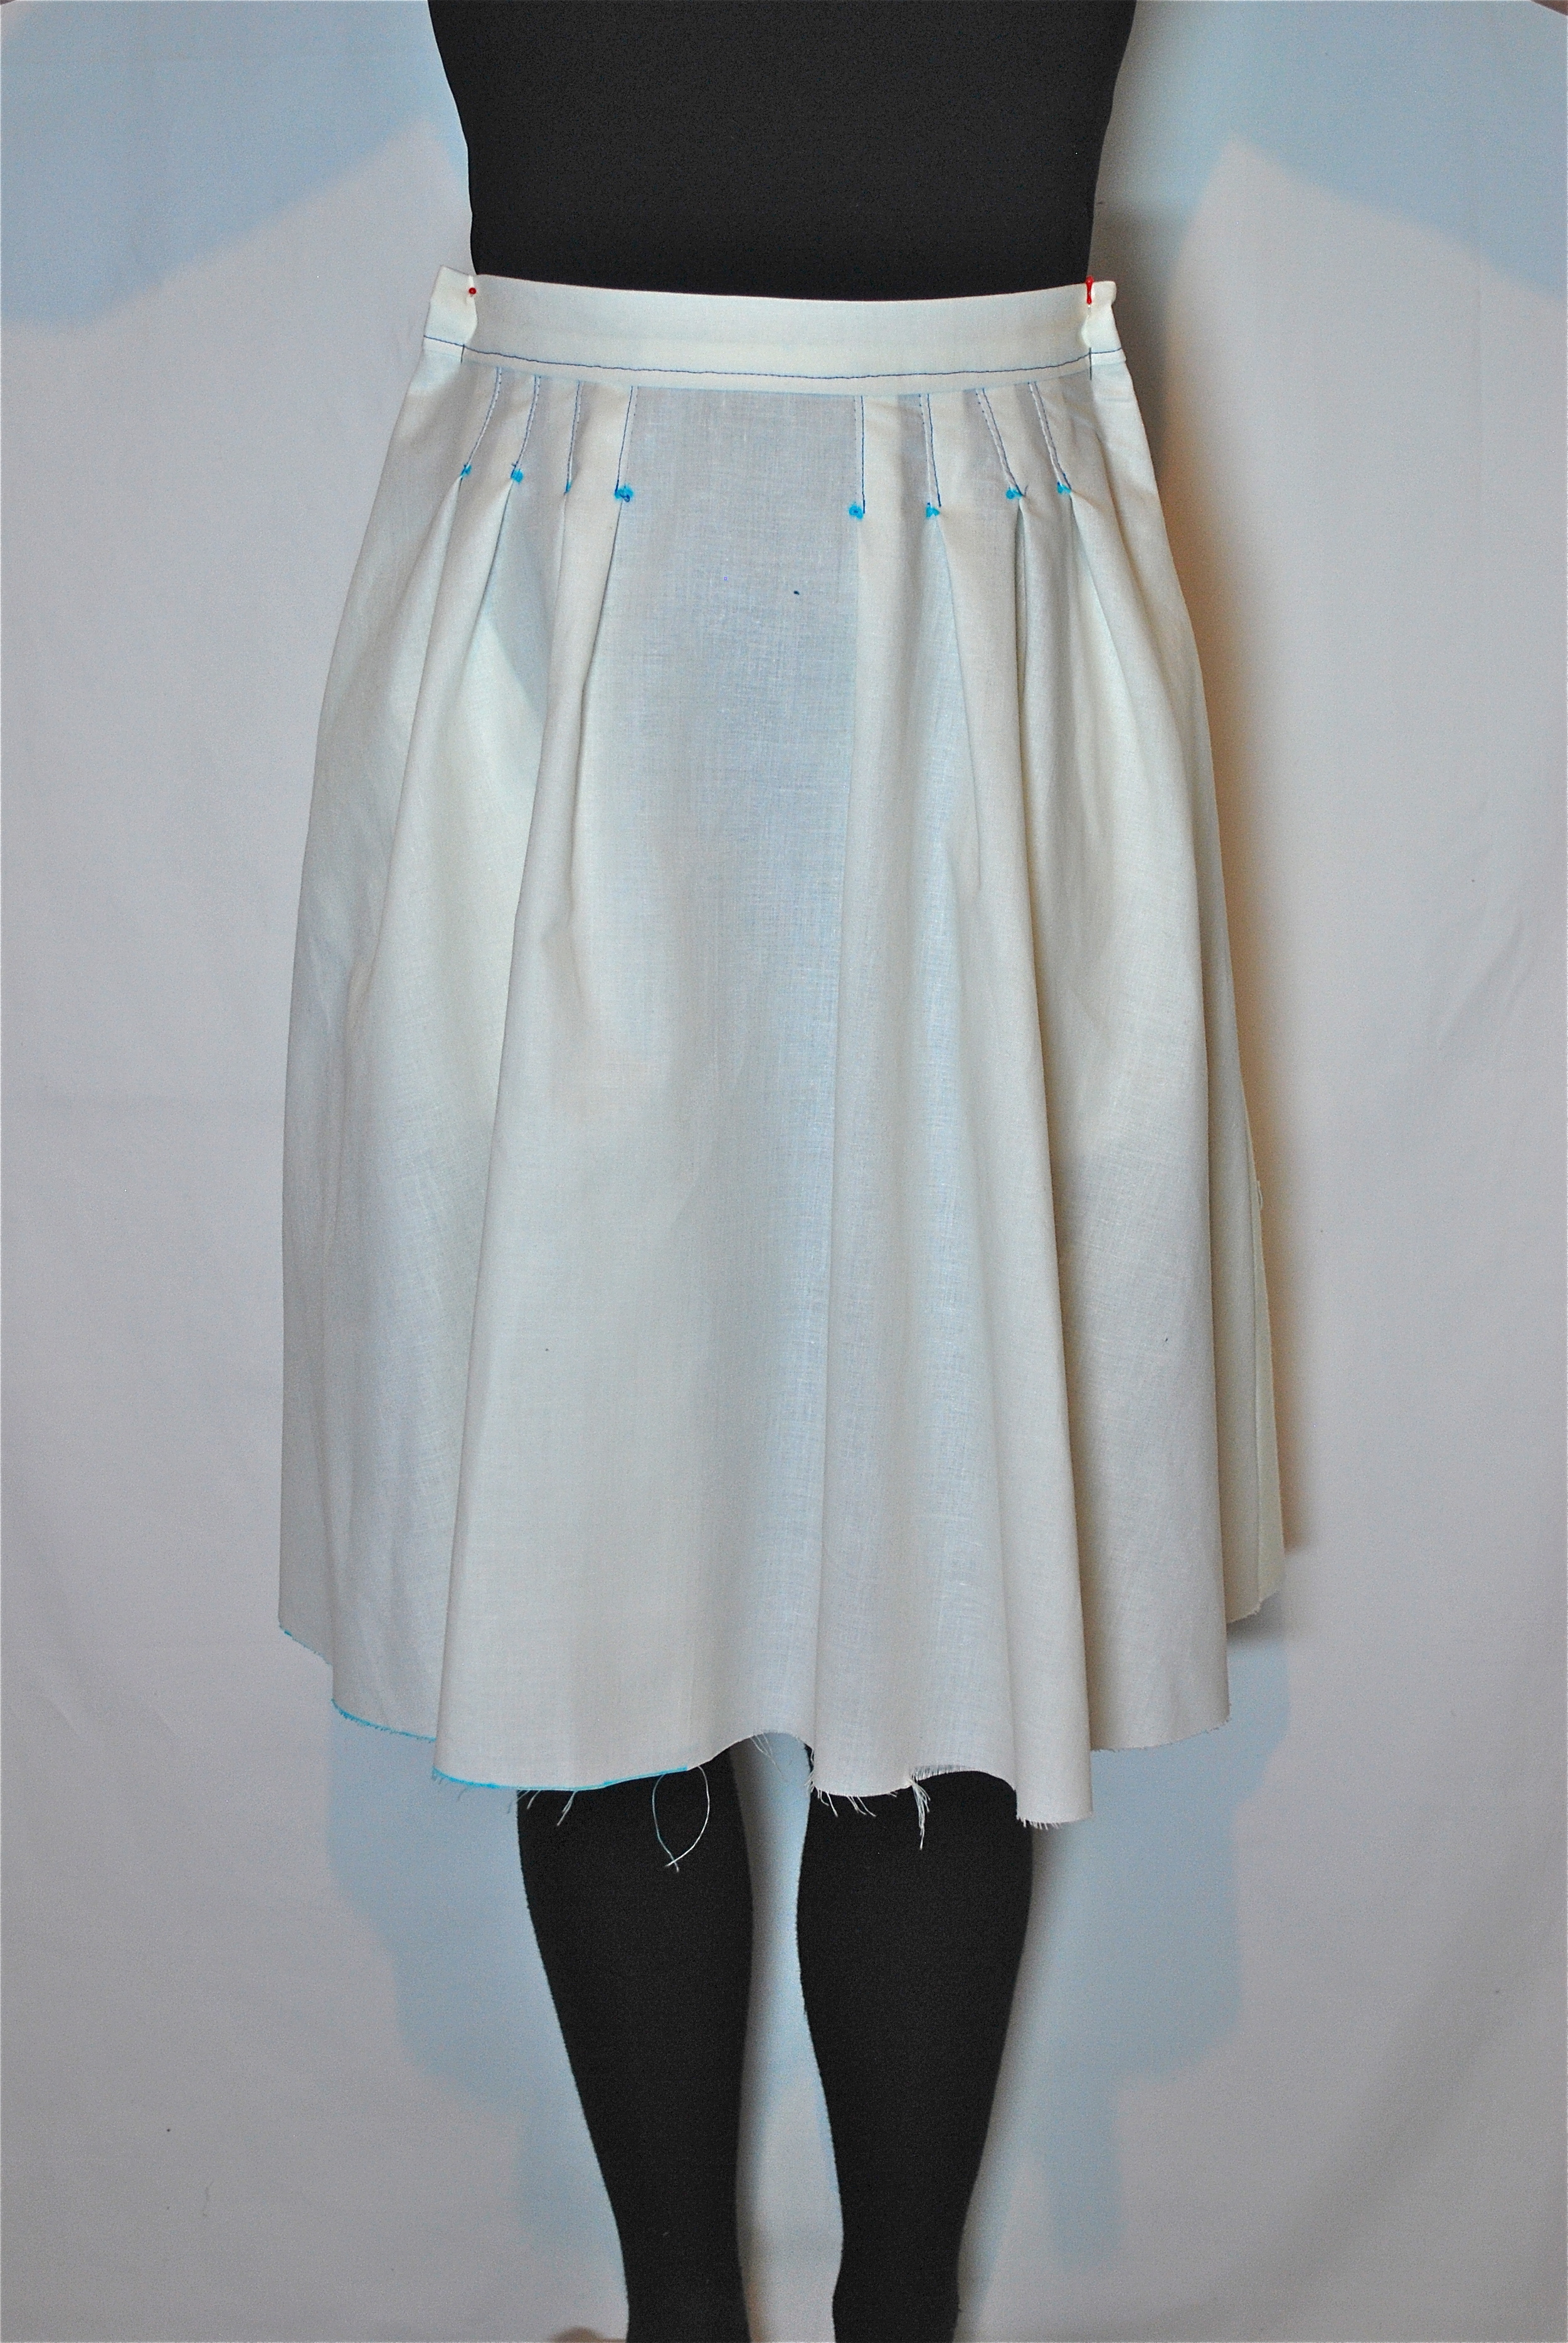
Pictured above is Naomi's toile, the pleated Version 2, in a size 8.
A toile - also referred to as a muslin in North America - is a sample or test version of the garment you're going to make. It is most often made up using Calico, an inexpensive, cream coloured cotton fabric. Calico comes in different weights, so it's best to use one that closely represents your final garment fabric. You can purchase Calico at almost any fabric store (we recommend Mandors for those in Glasgow) and it will cost around £2-£4 per metre. Your calico fabric requirements in yards or metres for your toile will be the same as your final garment. Although, sometimes its good to buy a wee bit extra if you plan to have some fun!
Making a toile will help you produce the perfect fit in your final garment. It also gives the sewer an opportunity to try out any new techniques, without the fear of making mistakes (as my husband discovered recently when he started his first sewing project; Negroni). And it allows you to test out any style alterations you may wish to add. So in general it's a good idea.

The free patch pocket options from Colette.
While we're on the topic of style alterations, its worth quickly mentioning that Colette Patterns offer a free download on pocket variations. This can be used for the Zinnia skirt patch pocket, allowing you to try out a couple of different styles.
I'd also like to add that your toile doesn't need to include all the finer details of your final garment. Since you will only be using it for fitting, and maybe trying out some style alterations, you can skip techniques such as staystitching and seam finishes (more on these in later posts). These techniques are meant to produce longevity in your garment, so they're not necessary in the toile.
For an in-depth article about the use of toiles in the fashion industry, read The Cutting Class article on Toiles and Sample Garments.
WEARABLE TOILES
There is a bit of a trend at the moment for wearable toiles, which is only really possible if your toile fits well enough or you can later fit it to your size. If you have some pretty fabric in your stash or can find some patterned fabric in a shop that is inexpensive and the same weight as your final fabric, then making a wearable toile is a great idea.
Charity shops offer great possibilities for toile fabric. You can look for old sheets or duvet covers or, if you're lucky enough, you might actually find a wee fabric section in the store. If you're around my home city of Glasgow, The Magpie's Eye Gallery is my charity shop of choice. They almost always have a wee stash of fabric to choose from and often for pennies. If you're make your toile from 100% cotton calico you can also dye it to make it more exciting. Read this snippet about a wearable Hawthorn toile for more inspiration.
IMPORTANT NOTE
If you're taking our advice, and making a toile, then the instructions we've given below and those in the next few posts should first be applied to this test version. Once we've completed the main structure of the toile, we'll be talking about how to fit it and also how to make pattern alterations, based on this fitting.
If you're feeling confident, or just have a lack of time, then the instructions below can be applied directly to your final garment.
The Pattern
STEP 1 - CUT AND PRESS YOUR PATTERN PIECES
As we mentioned in Post 2, you have two main options for using your pattern: either you trace out your own size onto tracing paper (thus giving your purchased pattern more uses), or you can just cut out the original tissue paper pattern to size. Either way, you want to have a wrinkle-free pattern to work from, as wrinkles and creases can cause the pattern to distort. Using a dry iron, on low to medium heat, carefully press your pattern smooth.
STEP 2 - FOLD YOUR FABRIC
Before laying out your pattern on your fabric, you will need to fold your fabric, right sides together, with the fold on the crosswise grain. Make sure that the selvedges are perpendicular to your fold line.

The diagram above is the pattern cutting layout as seen in the pattern instructions.

Naomi's size 8 pattern layout for version 2 on 45" fabric.
STEP 3 - ESTABLISH THE CORRECT PATTERN LAYOUT
On pages 4-11 of your paper pattern instructions (pages 6-9 of the digital pattern) you will find the pattern cutting layouts. The first thing to note is the pattern key (otherwise referred to as a legend), which explains what is the RIGHT and WRONG side of the pattern, fabric and interfacing. The key also notes that a seam allowance is built into the pattern (standard 5/8 inch unless otherwise stated) and that all pieces for this pattern are cut on the crosswise grain. For more about pattern fabric grainline and width, read post two of the Sewalong.
How do you figure out which cutting layout to use? First you need to find the version that you are planning to make. The images to the left show Naomi's example, which is Version 2; the short pleated version with side seam pockets.
We're cutting a size 8 for this version and have chosen a fabric that is 45 inches (115 cm) wide. So we need to use the Version 2, 45" layout that is inclusive of this size (0-18).
As we intend to use interfacing, we will also need the layout for the interfacing (25 inch wide) on page 7 of the paper pattern. For Version 2, only the waistband is interfaced.
STEP 4 - CHECK YOUR GRAINLINE
Before pinning your pattern pieces, you will need to check that they are positioned correctly relative to the grainline. To do this we can use the grainline arrows that are printed on each pattern piece (see image below) and a quilting ruler. These rulers are very handy for dressmaking, and I highly recommend the investment. You might even take up quilting too!
The quilting ruler is transparent, with a square grid representing inches or centimetres printed on it. To check the grain, place the ruler so that the grid sits squarely along the edge of the fabric selvedge. Then look at the grainline arrow on the pattern piece and check that the lines of the grid run parallel with it.
If it's not straight, straighten it according to the lines of the ruler. Be sure not to measure from the raw edge of the fabric as you don't necessarily know that it has been cut straight along the grain.
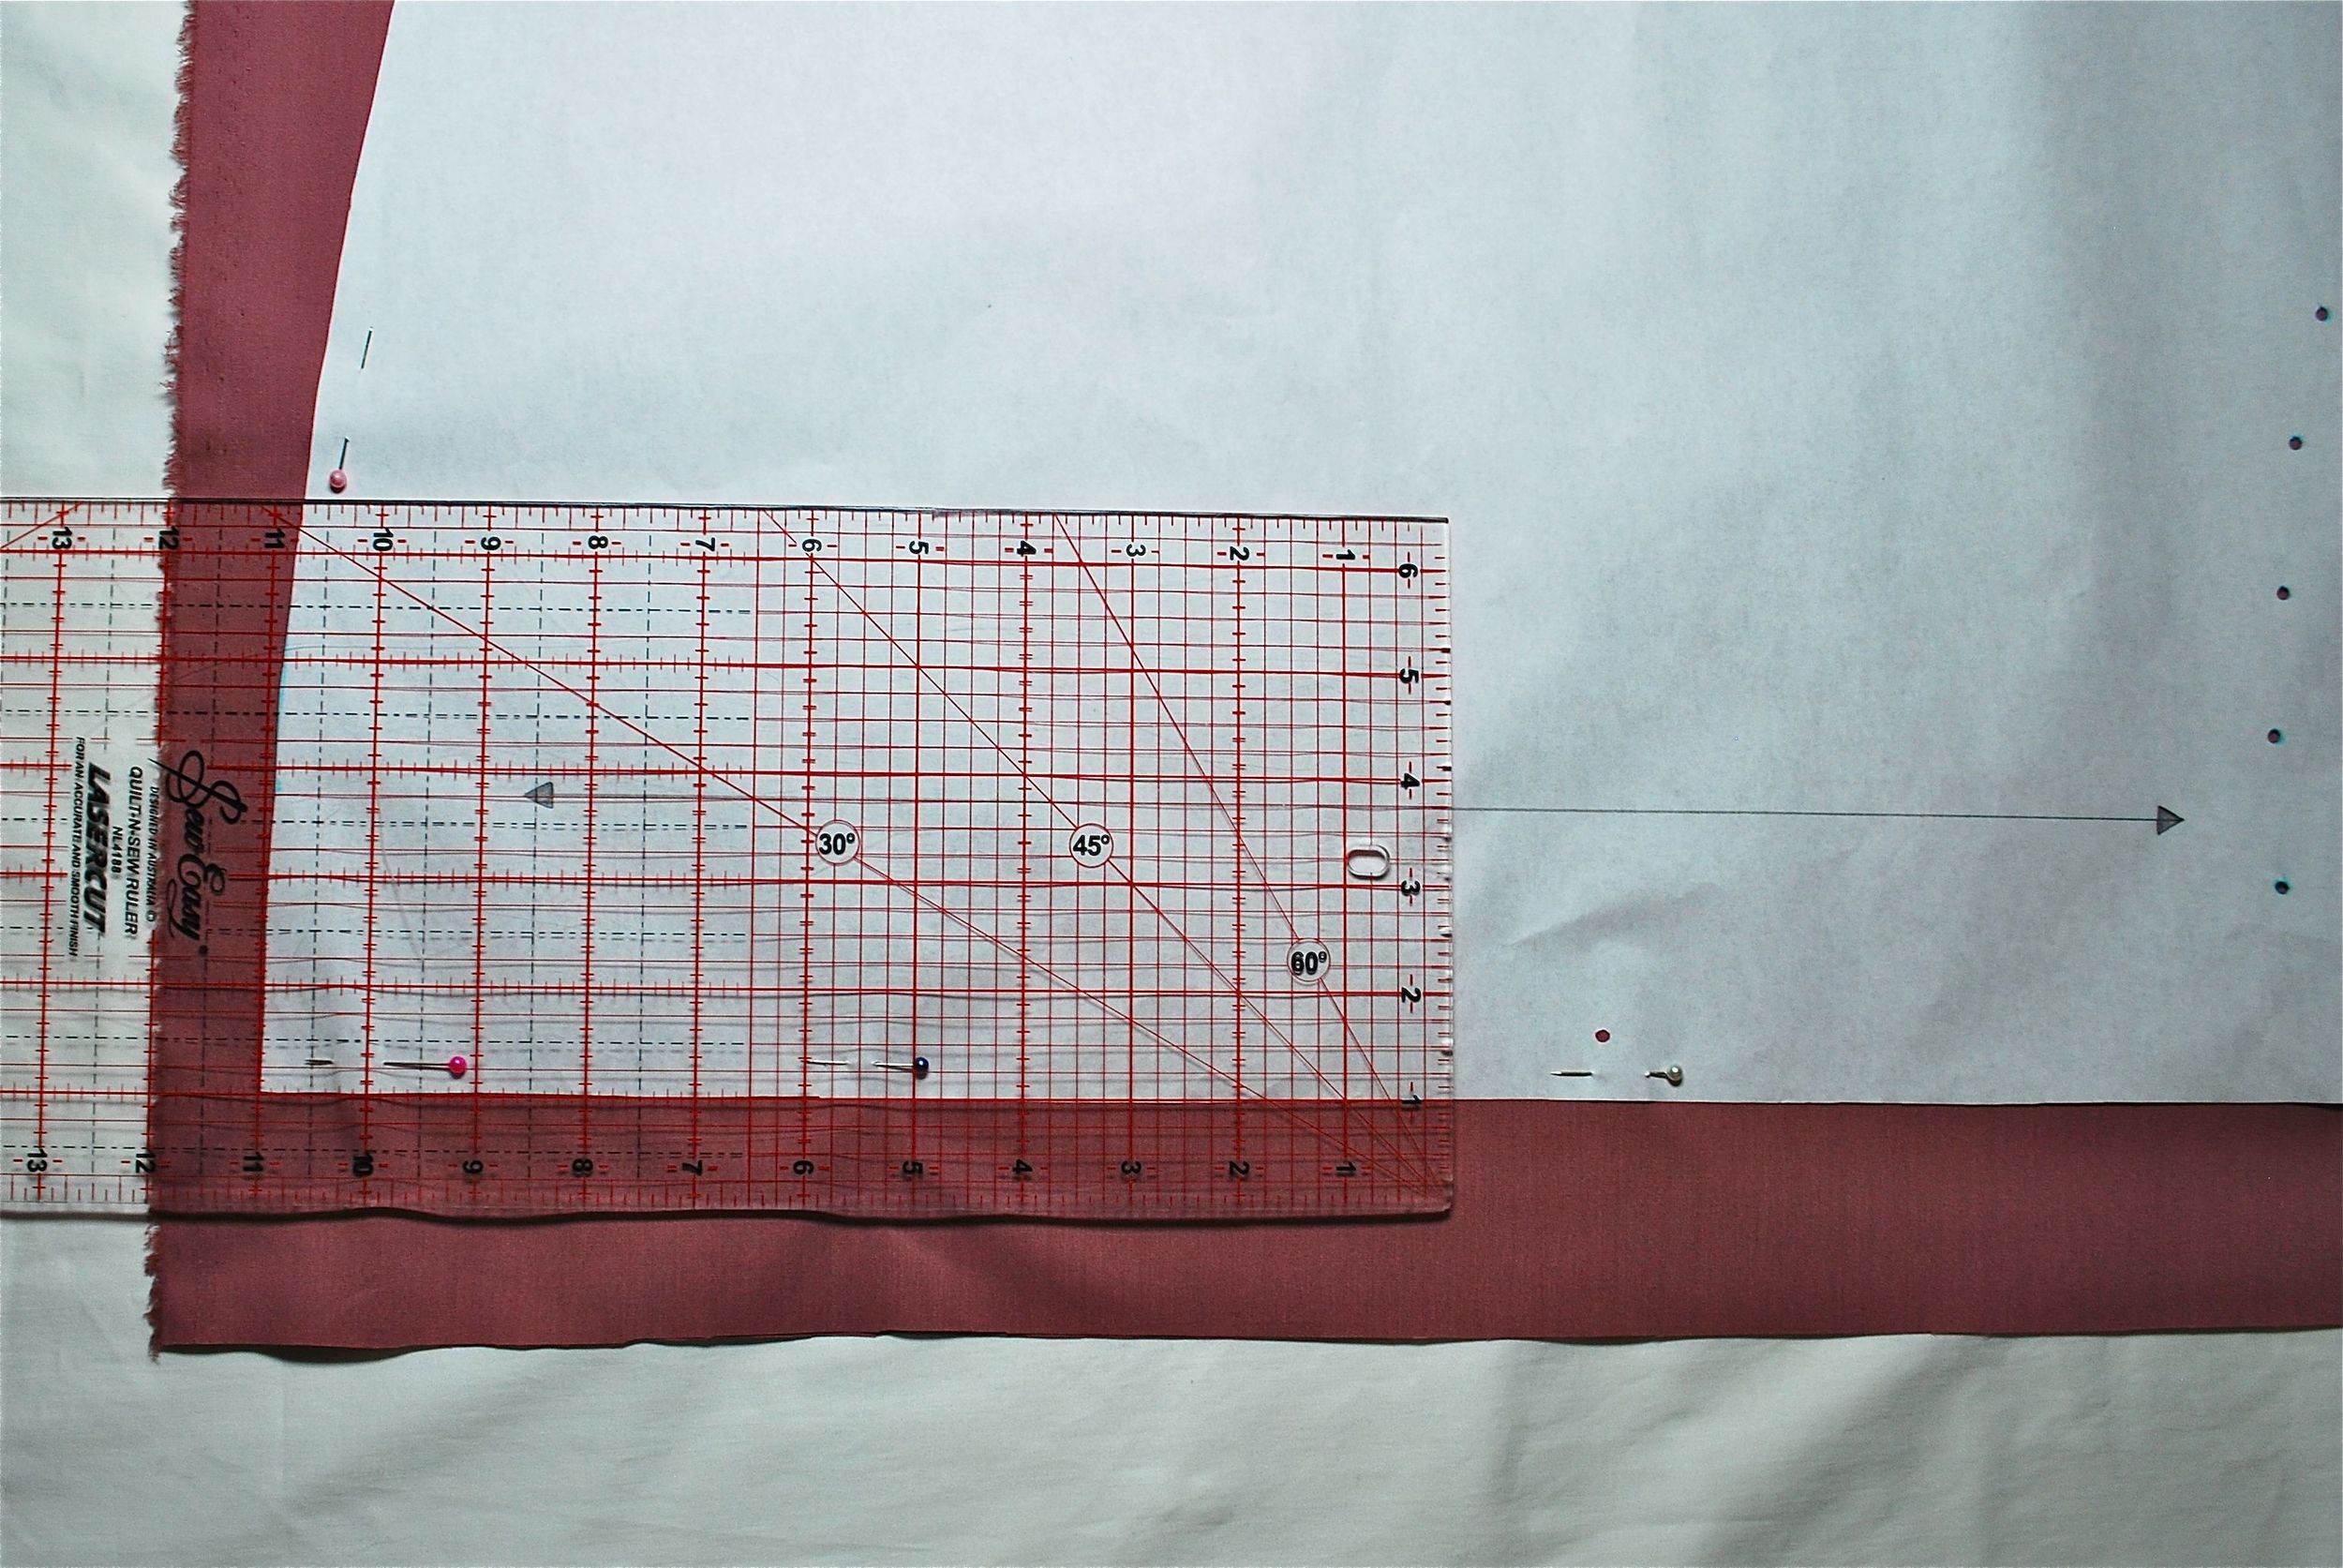
See above how the straight line of the grain line arrow is positioned parallel to the lines on the quilting ruler.
INSIDE TIP: WORKING WITH SHEER FABRIC (VERSION 3)
Cutting sheer fabric can be quite difficult at the best of times. My tip, to help stabilise slippery fabrics, is to use a layer of tissue paper underneath the fabric. The fabric is effectively sandwiched between the bottom layer of tissue paper and the top layer of the paper pattern. You can then pin together and cut through all three layers. You should find by doing this that the fabric doesn't move about so much.
STEP 5 - PIN YOUR PATTERN PIECES
Once you've position the pattern pieces, the next step is pinning or using pattern weights to anchor your pattern to your fabric. More about pattern weights in a moment.
If you choose to pin your fabric I'd like to offer some tips:

- Don't pick up the fabric as you pin; keep it flat on the table with your other hand.
- Push the pin through the pattern and fabric and then lightly lift the pin to push it through the other side.
- If your pins are dull and you're having trouble pushing them through the fabric, don't use them. Dull pins can cause holes in your fabric. Investing in a good, sharp set of pins is well worth it! For more recommendations about pins, read the first post in this sewalong.
- Pin inside the seam allowance, which is 5/8 inch for most parts of this pattern.
- Make sure all your pins are within the borders of the pattern pieces; if they stick out then they'll get in the way when it comes to cutting your fabric.
- Lastly, I usually space my pins a couple of inches apart to make sure that the pattern is secure. Around sharp curves I sometimes pin at more regular intervals.

The image above is a wedding dress I made last year. The fabric was very delicate so instead of using pins I opted for pattern weights.
If your fabric is delicate (as in Version 3) and easily snags, then one alternative to pinning is to use pattern weights. I use weights manufactured specifically for this job, but in all honesty there are probably a myriad of heavyish things lying around your house that will do the same job. I've used tins of beans in the past!
You have two options for cutting when using pattern weights: The first is to use a fabric marking pen, pencil or tailors chalk and trace around the outside edge of your pattern (in the image to the left I used a light pink pencil). The second option is to very carefully cut out your pattern without tracing out the pieces. A rotary cutter can be used to cut your fabric without marking the pattern outline. Just be sure to use a self healing mat under the area you are cutting.
STEP 6 - TRANSFER ANY MARKINGS
Transferring the construction markings from the pattern to the fabric is a vital step in preparation for making your toile or garment. The markings found on your pattern correlate to the sewing instructions in the pattern booklet. If you miss out some of these markings it can make the later stages of sewing the garment quite confusing.
In Part 1 of the Sewalong we covered different marking tools used for this stage of the process. In the Zinnia pattern you will find the following constructions markings. Some of the markings only refer to specific versions:

Marking out pleats on Naomi's pattern pieces. We punched holes thorough the small circles that were on the pattern, then stuck our pen through the holes to mark the fabric.
- Small circles for placement of pleats and pockets
- Large circles for placement of side seams
- Extra large circles for placement of buttons
- Buttonhole markings
- Dotted cutting or fold lines for belt loops and folds
- Notches (triangular shapes for matching seams)
STEP 7 - CUTTING YOUR FABRIC
Once you have pinned or weighted your pattern and transferred your markings, you are ready to cut out the pieces. Be sure to use sharp fabric scissors, as dull scissors are irritating and can cause the fabric to fray while you cut.
As with pinning, while cutting your fabric you should keep your work flat on the table. Avoid picking it up to cut it as this can result in jagged edges. The lower handle of your scissors should stay in contact with the table top as you cut. I usually hold down the pattern and fabric with one hand, while cutting with the other. To the best of your ability, cut right on the edge of the pattern without cutting into it.

Once the pattern pieces are cut, you can carefully remove all your pins. If you are new to sewing it may be helpful to label each pattern piece. You can pin a wee piece of paper with the name of the piece and the letter (ex. A for skirt front).
Next on the Zinnia Sewalong
In next week's post, we will start to sew our toiles! To be ready for this, you'll want to have completed all of the stages shown up until now.
Some of the subjects we'll be covering include:
- How to use interfacing
- What is seam allowance?
- Staystitching
- Gathering fabric
- Pleating fabric