
Well, we had a lovely time in California these past few weeks: Sunshine, manicured streets, copious amounts of Mexican food, and smiley people everywhere. It was definitely the break we needed from our busy studio here in Glasgow.
Oh and we also got to visit one of our favourite little places from across the pond: Sew L.A, a fabulous sewing studio that we've been following for a wee while now. And it just sew happened (couldn't help myself) that, as we were taking our very touristy selfies outside the shop, the founder and owner, Shaerie Mead, popped her head out to meet us. Needless to say we took the opportunity to have a right good natter!

But back to business, and our Sewalong! This is Part 6, and today we’re looking at pockets: specifically patch pockets. Then in a couple of days we'll be sticking up another post on in-seam pockets.

A patch pocket with a flap, a button and rounded corners. This one is from the Colette Negroni pattern.
Patch Pockets
Unlike, in-seam pockets, patch pockets are applied to the exterior of your garment. There are a variety of different types of patch pockets: Those with flaps, those without; lined or unlined; with or without facing; square or rounded; with or without a closure, such as button. The options go on, but these are just a few of the main ones.
Version 1 of the Zinnia skirt includes a patch pocket, with a pleat, facing and a flap. And for beginners, or anyone wanting to keep life simple, sticking to this pocket pattern is a good idea. You can easily jazz it up a little with a contrasting fabric for the flap or a nice button for embellishment.
Or if, like me, you decide you want to go with something a little different there are some simple changes you can make to your patch pocket. I decided I wanted bigger pockets than the ones shown in the pattern. So the first thing I did was to blow the pattern up to 150% using my photocopier (sneaky I know ☺).
For a good example of a self facing pocket, have a look at the patch pocket (pattern piece M - page 4) on the Colette Negroni pocket variations PDF. I used this as a reference when I made my pocket.
The steps I've shown below are how I made my own pockets and a good example of how to customise a pattern to suit your own tastes. Apologies to anyone who is looking to make the pocket exactly as shown in the pattern. But if you have any questions on this, please feel free to post them here or in our new Sewalongs Facebook group page.
STEP 1 - The first thing I did was to enlarge my pattern piece by to 150%. This is obviously completely optional. You may be happy with the size provided or maybe you want to use my photocopier trick to go for a different size.
STEP 2 - I then cut out my pattern piece and cut away the bottom pointed section. Again optional. The point is a popular feature on men's shirts, but can look great on a skirt too.

STEP 2
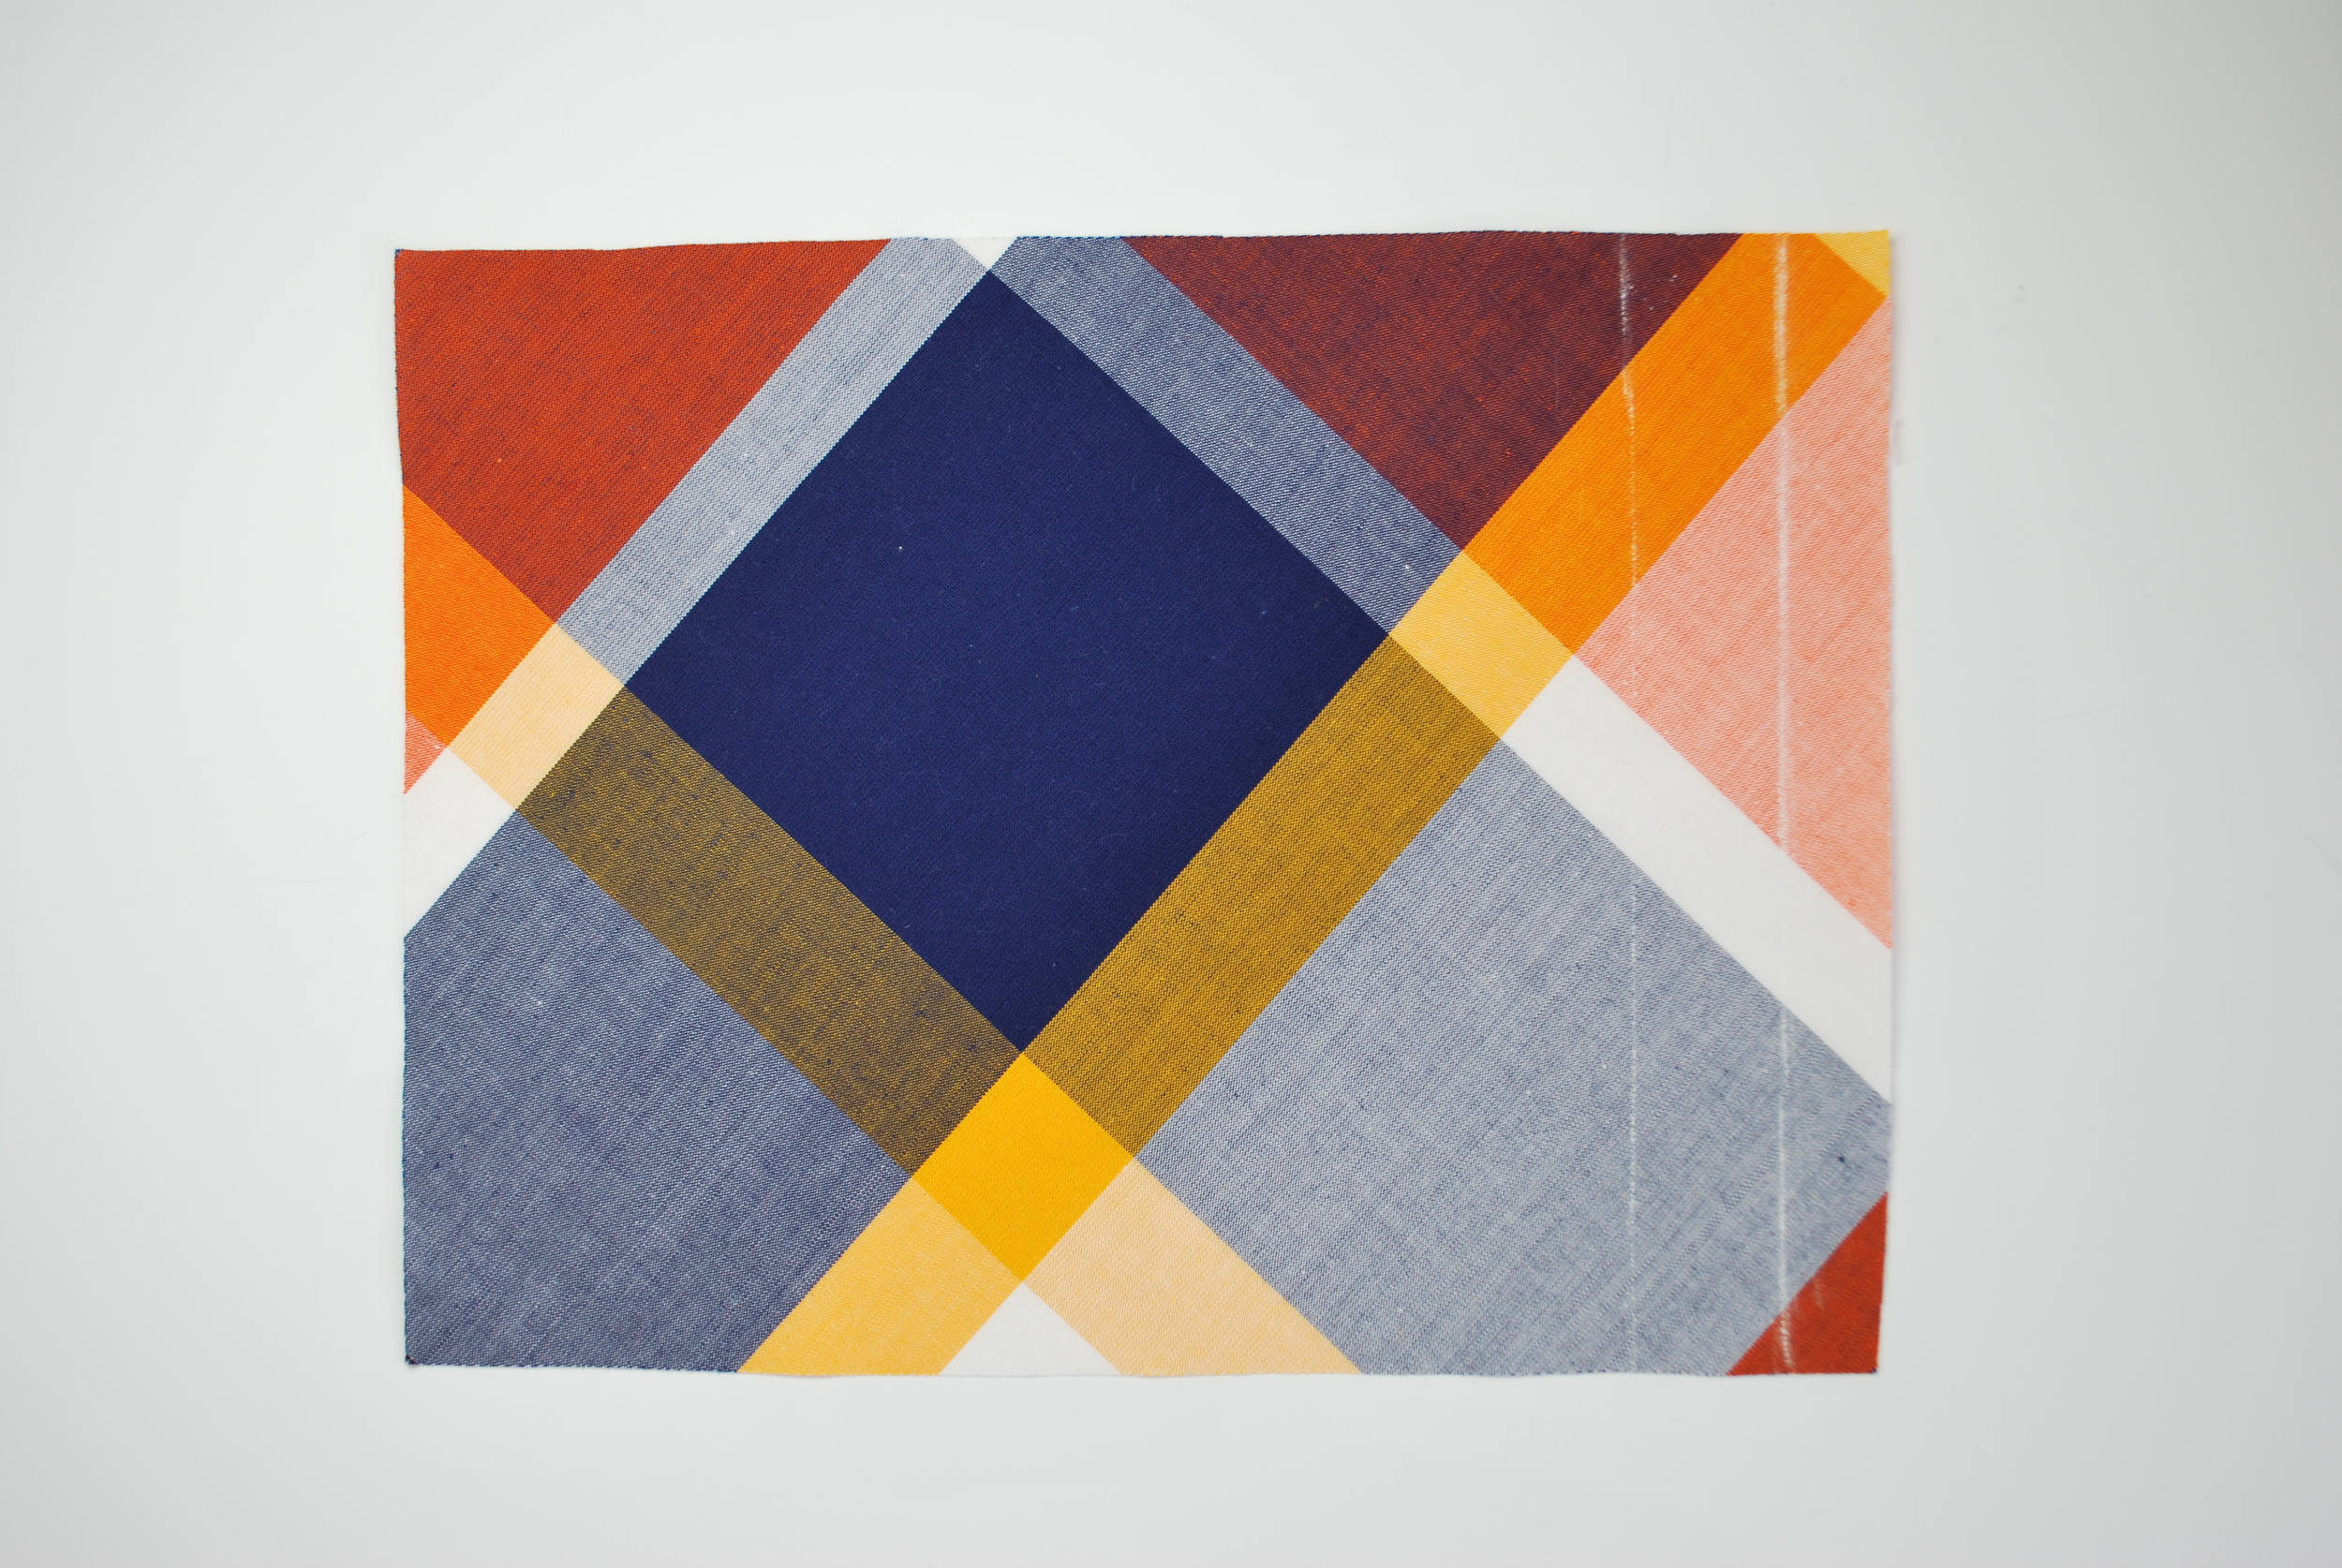
STEP 3 - Pin your pattern piece to your pocket fabric and cut it out. You'll notice that I have cut my fabric on the bias. This was just only for aesthetic reasons because I thought the plaid would like nice like this.
STEP 4 - Transfer the 1st fold and 2nd fold lines onto the fabric from the pattern. I used a chalk pen to do this.
STEP 4
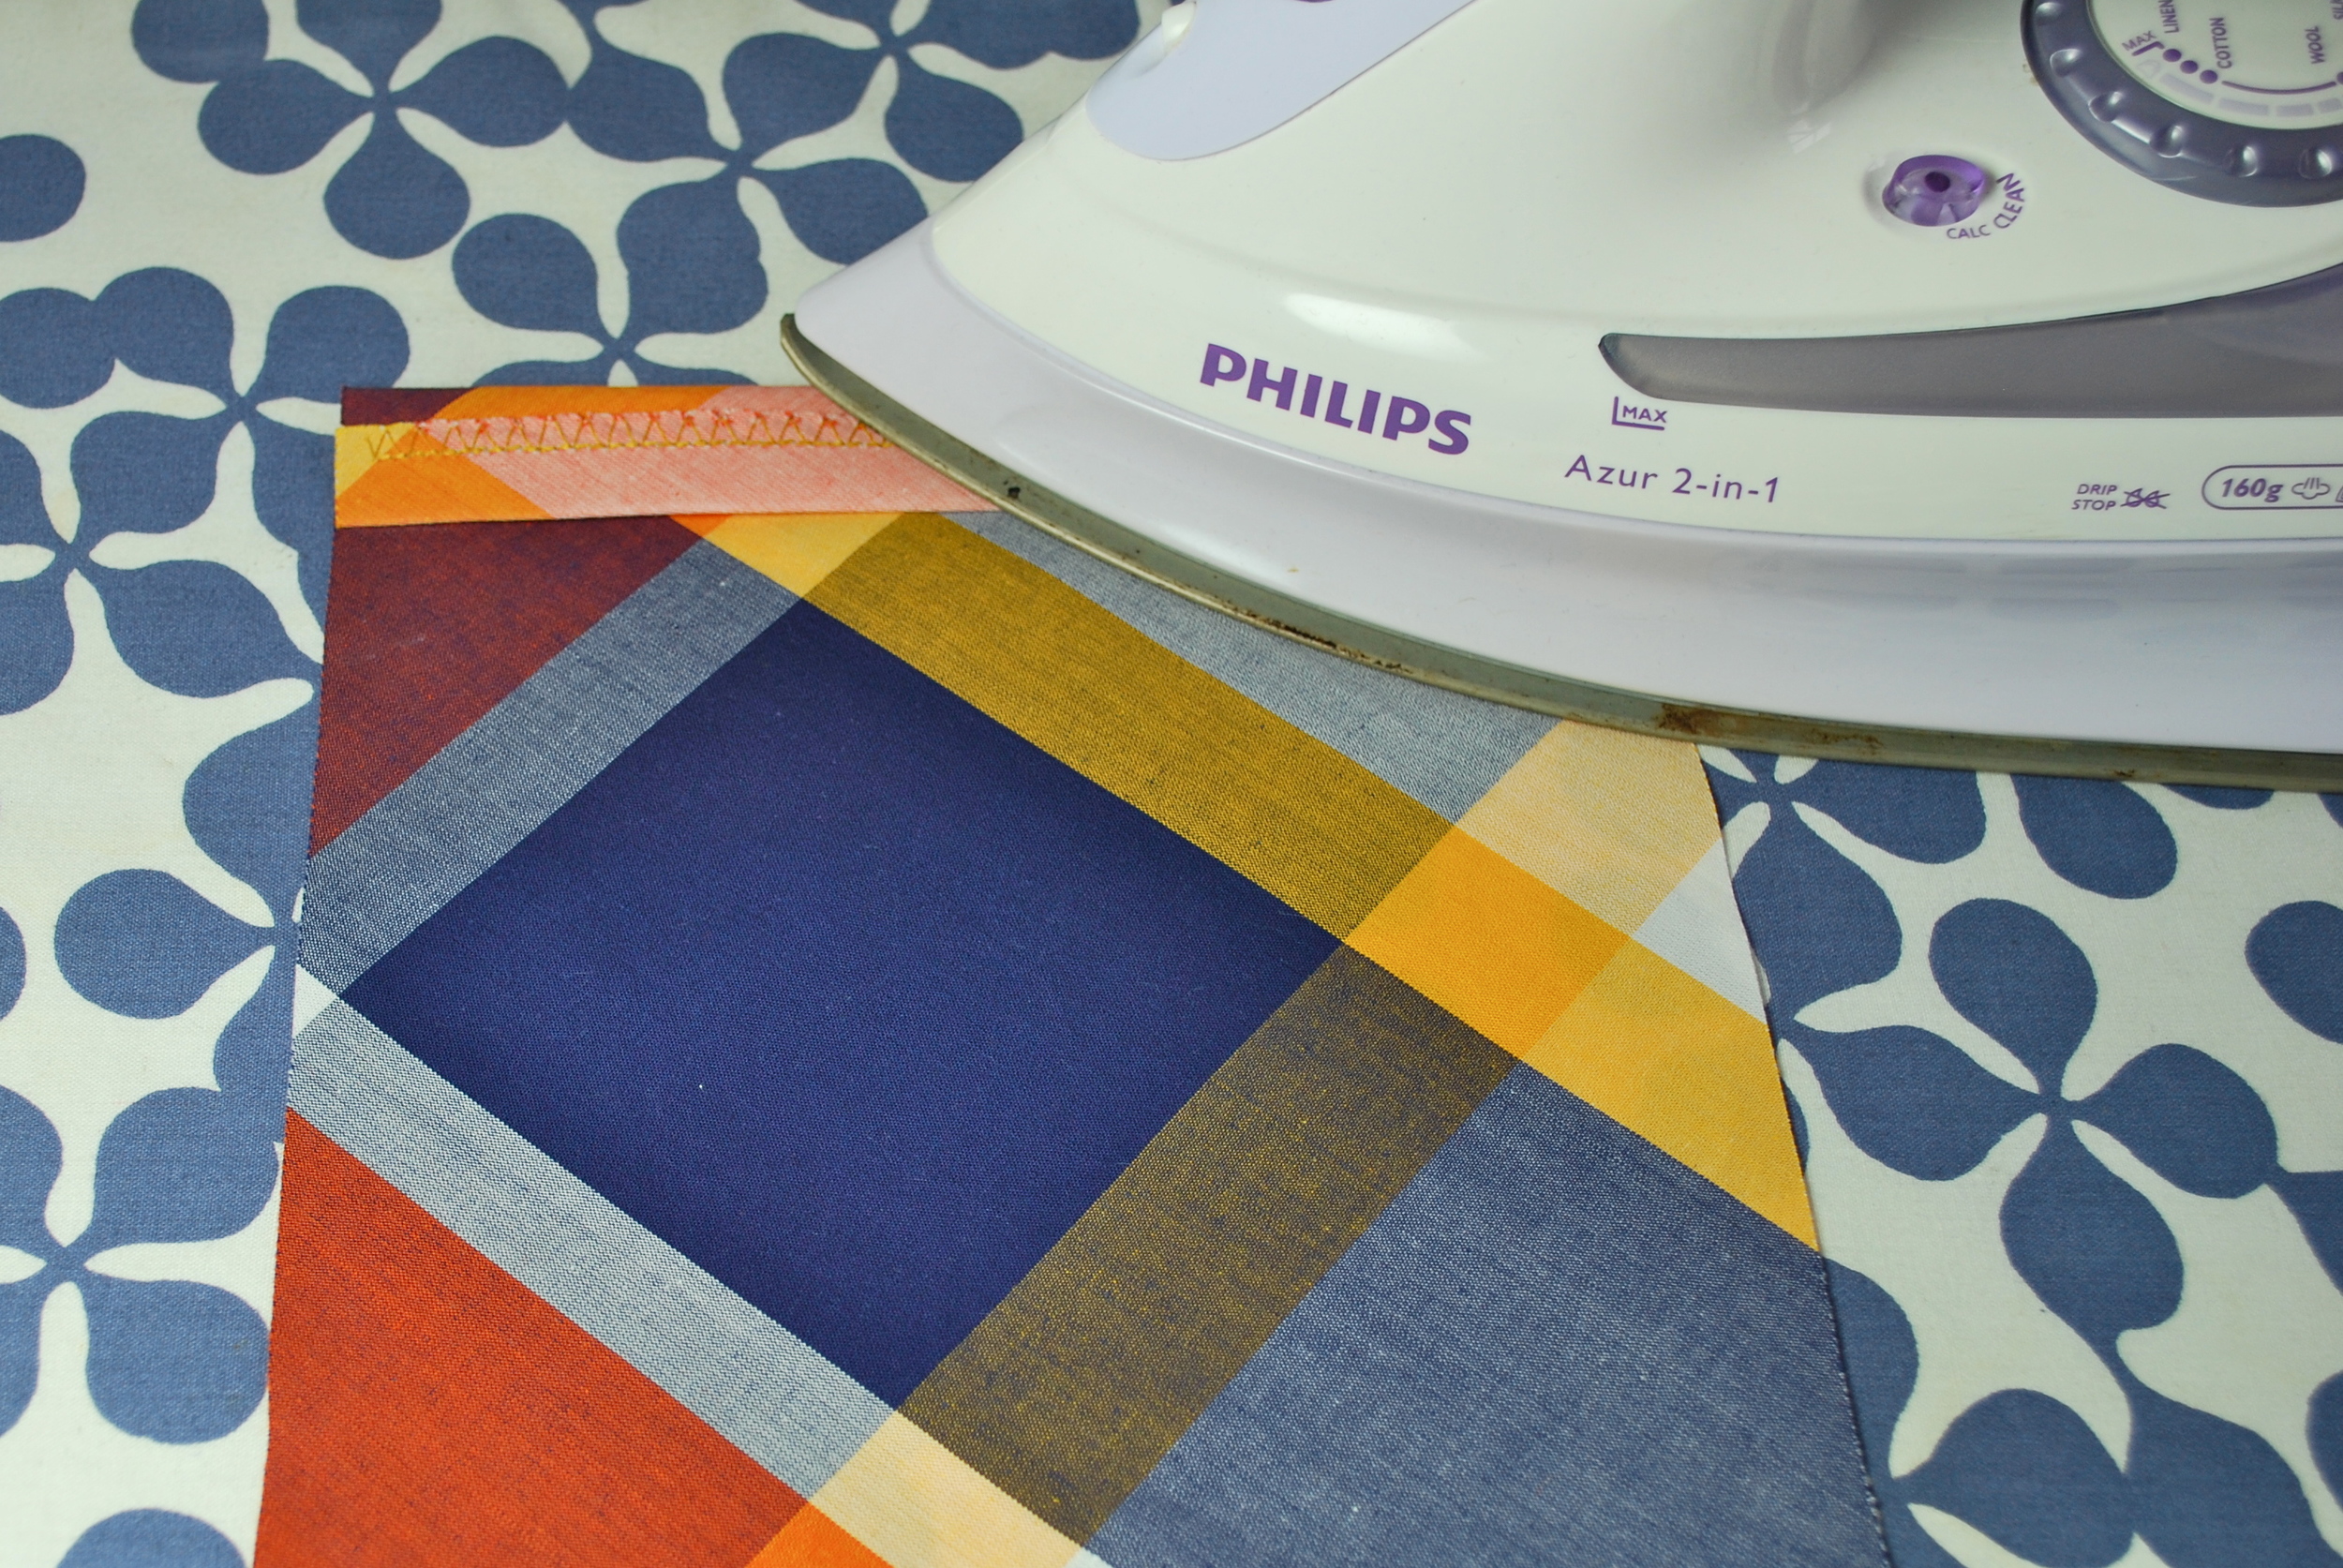
STEP 5 - Press the top edge of the pocket toward the wrong side, along the 1st fold line. You'll notice that I've finished my raw edge with an overlocking stitch. This is just habit and by no means a necessity.

STEP 5
STEP 6 - Turn your fabric over so that the right side is facing up. Fold and press along the 2nd fold line toward the right side.
STEP 6
STEP 7 - Using the standard 3/8" seam allowance, stitch the fold down on either side.
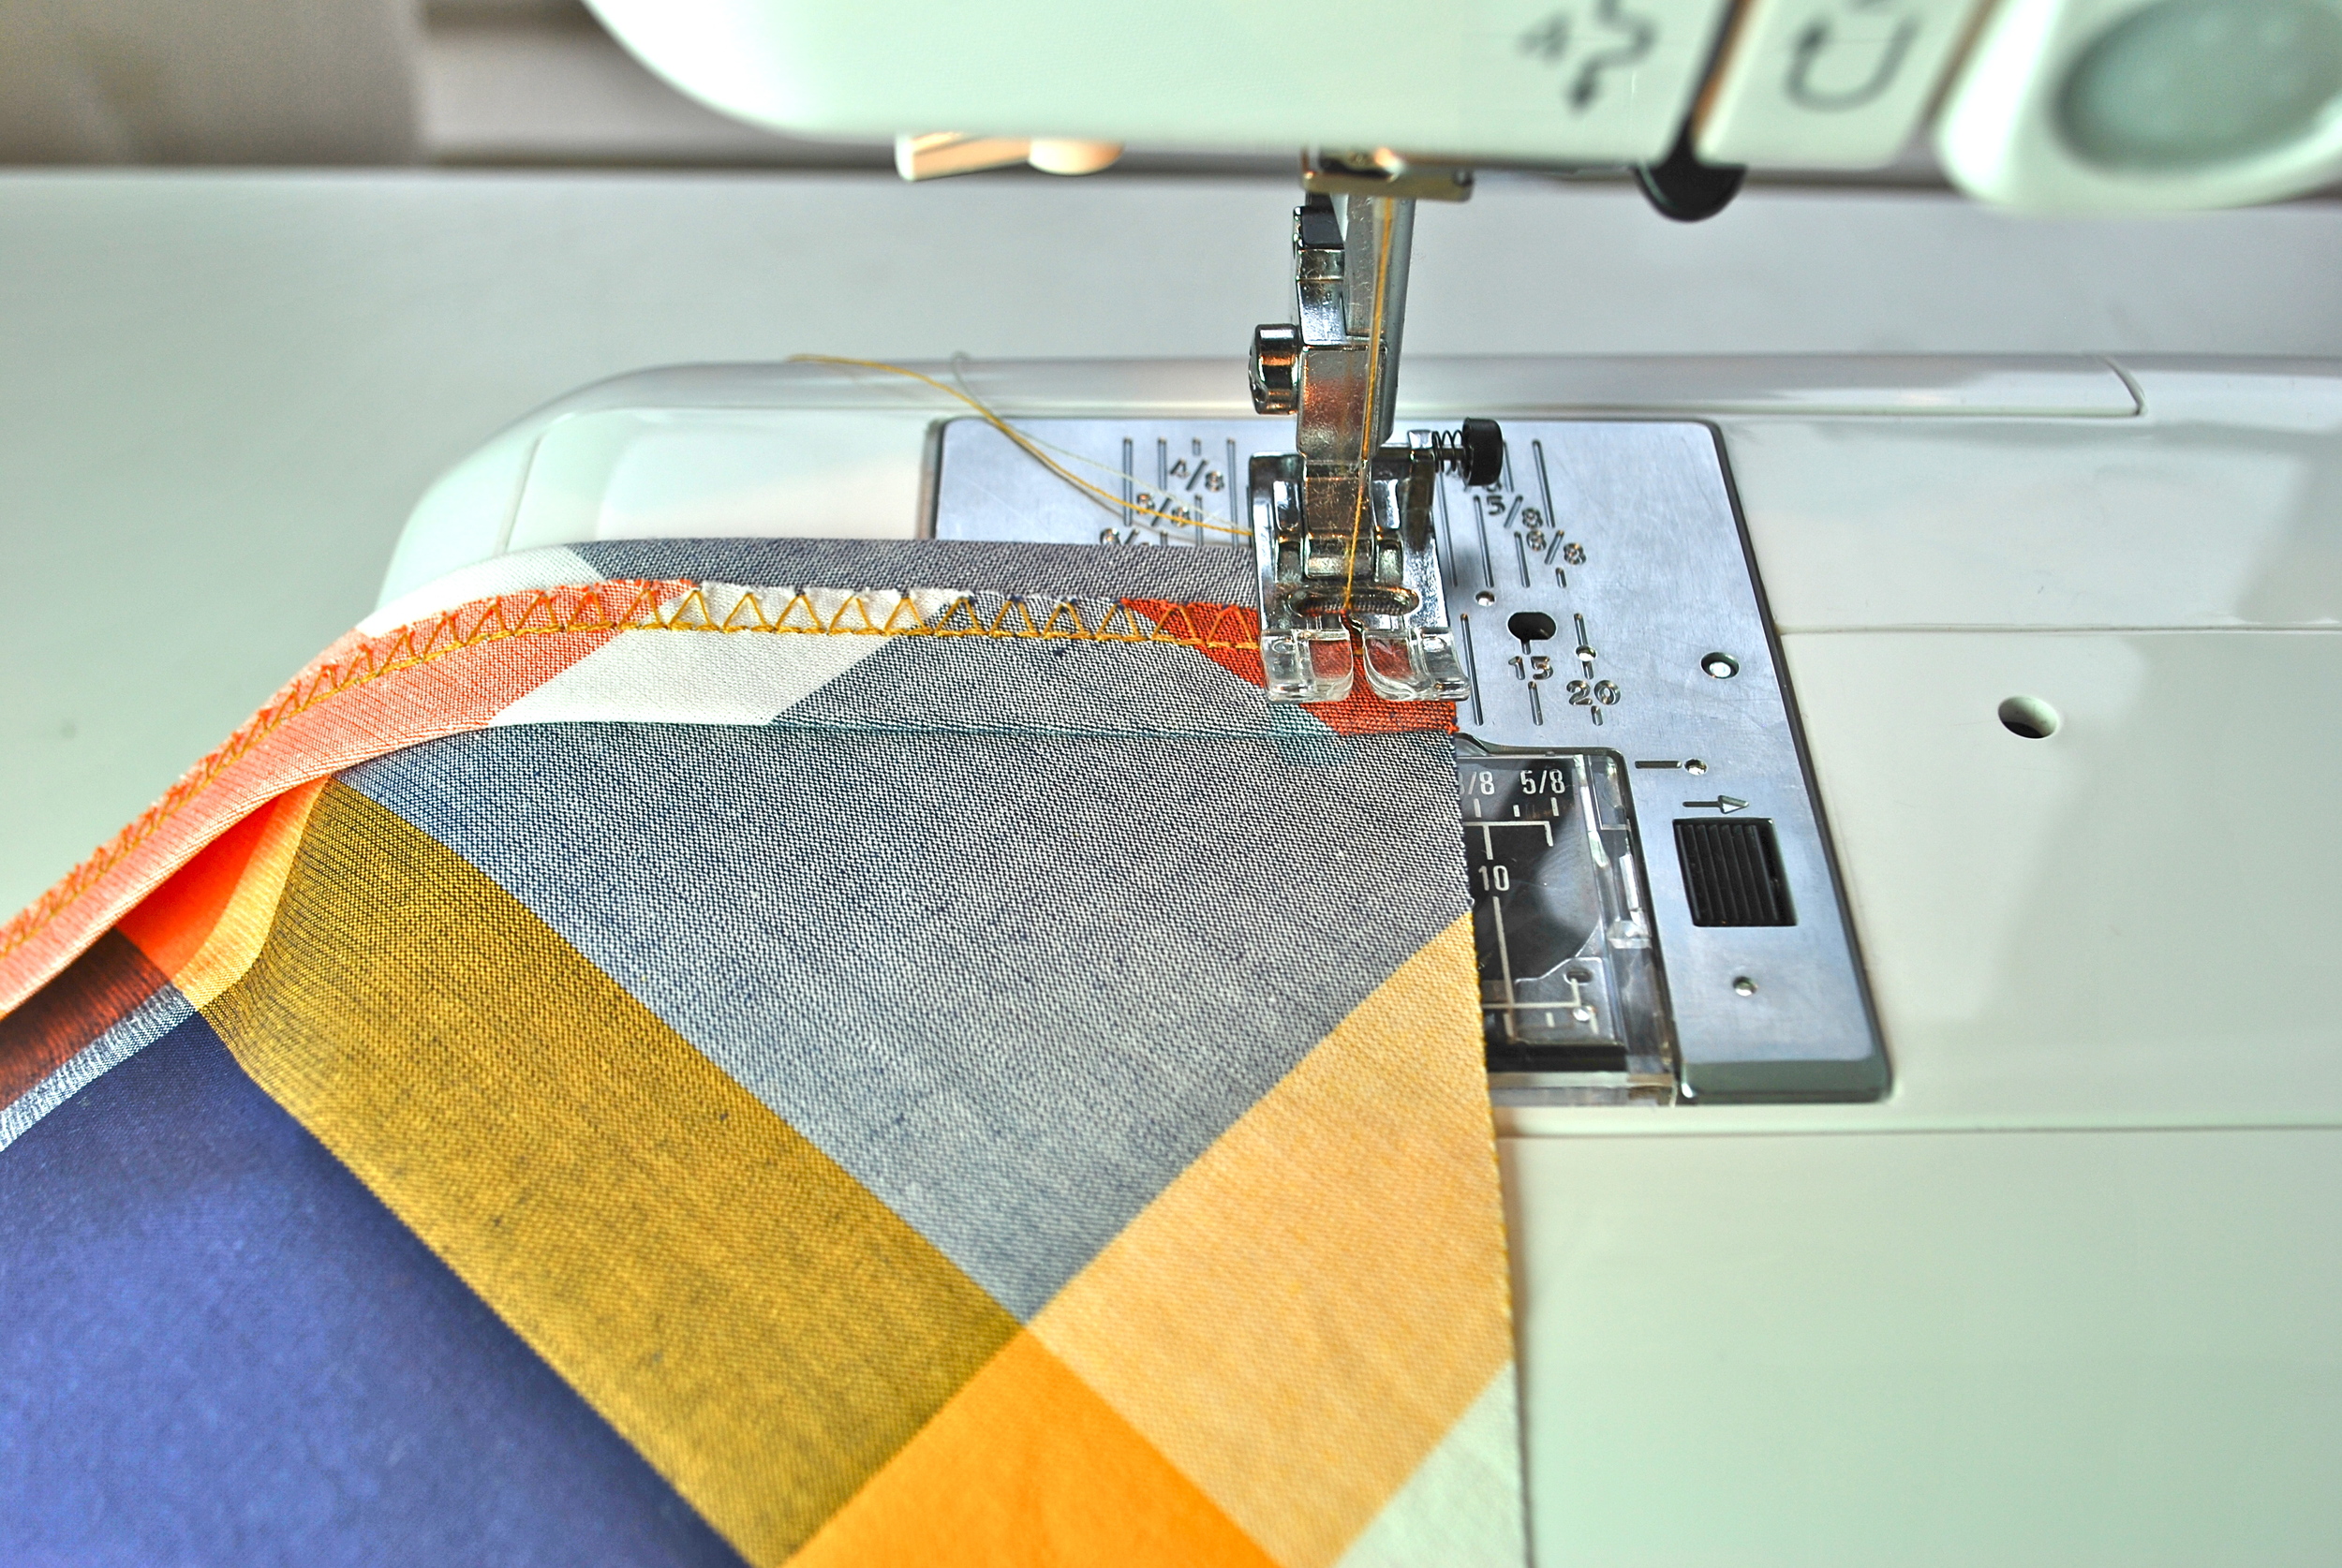
STEP 7
STEP 8 - Turn the fold right side out, using your point turner to make sure that the corners are full turned through.

STEP 8
STEP 9 - Turn under the side edges by 3/8" and press. Then do the same with the bottom edge.

STEP 9
STEP 10 - Pin your pocket onto the Skirt Front, using the small circles to locate the top two corners.

STEP 11 - Starting at the top corner, edgestitch down the first side of the pocket, along the bottom edge and up the other side to the opposite edge. Remember at each corner to stop and pivot 90degrees, with the needle still down and the foot raised. Then lower the foot again to continue onto the next edge.

STEP 12 - It's a good idea with this type of pocket to reinforce the corners. Especially if you're the type of person who puts your hands in your pockets a lot. I've done this using a triangular shaped stitch at each corner.
For each reinforcement, I started at the corner, counted 3 stitches along the top edge, then sewed diagonally down to to where I could feel the 1st fold line through the fabric. I finished it by sewing back up the edge to the corner. Counting the 3 stitches at the top of each triangle ensures my reinforcements are symmetrical.

STEP 13 - Sit back and admire your patch pocket!
